Butler’s pantry design ideas — sizes, layouts, storage & finishes (all the decisions in one guide)
What is a butler’s pantry and why is everyone talking about them?
It wasn’t so long ago that butler’s pantries were reserved for grand homes with dedicated staff. In modern Australia, the concept has been reborn as a practical, hardworking space that connects the kitchen to living areas and hides everyday clutter.
While a standard pantry stores food on shelves, a butler’s pantry can be either a walk-in room (or walk-through) with benchtops and storage, or a butler’s nook/pantry wall (an alcove or one-wall zone that keeps appliances and prep mess out of sight). It’s where you can make breakfast without disturbing guests, tuck away small appliances and keep the main kitchen clean and calm.
This guide unpacks everything you need to know about designing a butler’s pantry that suits your home and budget. Whether you’re renovating, building from scratch or squeezing a pantry into a compact apartment, the tips below will help you plan a space that’s both beautiful and highly functional.
Butler’s pantry ideas at a glance
- A butler’s pantry should function as an extension of your kitchen — think extra work space, hidden appliance storage and an unobstructed flow to your cooking zone.
- Plan your layout and size around how you live; even a butler’s nook/pantry wall can work if it has bench space, power outlets and smart storage.
- Layer open shelving, drawers and tall cabinets to keep everything organised, and use finishes that complement your main kitchen.
- Lighting, ventilation and durable tapware may seem small, but they make your pantry comfortable to use daily and provide an opportunity to add personality.
Want a fast sizing steer? Jump to How big should a butler’s pantry be? for the Size & clearance quick reference.
Quick note on terminology (so you plan the right thing)
In Australia, “butler’s pantry” gets used as an umbrella term — but there are a few different formats:
- Butler’s nook / pantry wall: a one-wall or alcove setup (often behind doors), designed to hide appliances and add storage/bench space — not a walk-in room.
- Walk-in butler’s pantry: an enclosed room you can step into, typically designed around a workable aisle plus benchtop depth (use the Size & clearance quick reference below as your starting point.)
- Walk-through pantry: a walk-in that connects two areas (e.g., kitchen → laundry/garage).
- Scullery-style pantry: the “second kitchen” version — more wet tasks, more bench, more cleanup.
Who needs a butler’s pantry?
A butler’s pantry isn’t just a luxurious extra; it’s a clever solution for people who love entertaining, have open‑plan living or simply want to hide the noise and mess of daily life.
If you host dinner parties, bake regularly or have a growing family that crowds your kitchen benches, you’ll appreciate having a separate zone for meal prep, small appliances and dirty dishes.
Even in smaller homes, a mini butler’s pantry (butler’s nook/pantry wall) or upgraded walk‑in pantry can make day‑to‑day cooking more streamlined.
Is a butler’s pantry worth it?
A butler’s pantry is worth it when it solves a real daily problem—bench clutter, open-plan mess, entertaining stress—not when it’s simply “what nice kitchens have”.
A butler’s pantry is usually worth it if:
- You cook often and your benchtops become the default storage zone.
- You entertain and want a place to stage food, hide dishes, or prep without the kitchen feeling busy.
- You want a coffee/appliance zone that doesn’t visually dominate the main kitchen.
You might skip it (or go smaller) if:
- It would steal too much space from your main kitchen work triangle.
- You’re forcing a long, narrow corridor layout that will always feel cramped.
- You won’t realistically maintain open shelving—because that becomes visual noise fast.
The butler’s pantry cheat sheet: design plans and checklists
To help you organise your thoughts, here’s a checklist you can follow:
- Function list: Decide whether your pantry will include prep sink, appliances (microwave, coffee machine), second fridge, wine storage, dishwasher, or laundry elements.
- Storage inventory: Count your small appliances, bulk foods and servingware. Measure odd-shaped items in advance.
- Infrastructure: Plan power points, plumbing, ventilation and lighting in advance. Include separate circuits for heavy‑draw appliances.
- Finishes & colours: Note which colours and textures you want. Make sure they coordinate with your kitchen but allow for a different mood. Use samples in the space and observe them in different light.
- Workflow: Sketch the sequence from entering with groceries to prepping food to cleaning up. Adjust the layout if there are awkward corners or crossing paths.
A simple 10-step butler’s pantry plan (the version you’ll actually follow)
Before you finalise cabinetry, answer these:
- What lives here? (appliances, servingware, bulk food, coffee gear, laundry items)
- What happens here? (prep, dishes, coffee, baking, entertaining bar, laundry overflow)
- What must be hidden? (bins, cleaning products, messy appliances)
- What needs power? (list every plug-in item)
- Do we need a sink—or just more benchtop?
- Lock in the footprint (walkway first, then benchtop depth, then storage).
- Map power + lighting around how you’ll use the bench day-to-day.
- Decide on wet zone vs dry zone (sink, if any, goes where it works hardest).
- Plan storage by behaviour (daily drivers at eye level; heavy items at waist height).
- Tie it back to the kitchen (materials + finishes + a consistent finish family for tapware/hardware)
How big should a butler’s pantry be?
For comfortable movement, plan at least a 1 m walkway and allow 600 mm for benchtops. If you intend to include a sink or appliances, expand to suit their footprint.
Size & clearance quick reference (for planning only):
- Allow a comfortable aisle first, then fit benchtop depth and storage around it.
- A common starting point for a walk-in is ~1000 mm clear walkway with ~600 mm benchtop depth (then adjust for appliances, door swings and how you use the space).
- If you can’t achieve a comfortable aisle with standard-depth cabinetry, design it as a butler’s nook / pantry wall rather than forcing a narrow walk-in.
- Galley layouts (benches on both sides) only work when the room width can comfortably fit two standard-depth runs + a clear aisle — otherwise choose a single-run or L-shape.
When planning size, decide which format you’re building.
- Walk-in butler’s pantry: A commonly quoted “modest but functional” allowance is around 1.6 m × 2.2 m, which gives room for a workable aisle, a standard-depth bench, and appliances like a microwave/sink depending on layout.
- Butler’s nook / pantry wall: Think in linear metres rather than room size — a single run (often ~1.8–2.4 m+) can house a coffee/appliance zone, drawers, and tall pantry storage without needing a walk-in aisle.
- Scullery-style pantry (“second kitchen”): If you want sink + dishwasher + multiple appliances and proper staging bench space, guides often suggest upwards of ~2.4 m × 2.8 m (or more).
The key is to avoid creating a narrow corridor that feels cramped — if you don’t have the width for an aisle, treat it as a nook/pantry wall and design it accordingly.
Size/format | Suitable for | Recommended layout | Notes |
Butler’s nook / pantry wall (approx. 1.8–2.4 m+ linear run) (not a walk-in) | Apartments, cottages, studios (and tight inner-city renos) | Single-run bench with open shelves above and drawers below; add a pull-out pantry or full-height cabinet for bulk items. | Focus on vertical storage; keep “daily drivers” within reach. If it’s visible from the kitchen, lean more closed than open so it stays calm day-to-day. |
Compact walk-in butler’s pantry (approx. 1.6 × 2.2 m “modest pantry”) | Average suburban homes | L-shaped benches (option for a small prep sink); room for a microwave and coffee machine; mix open + closed storage. | Balance open shelving and closed cabinetry to hide clutter while keeping essentials within reach; plan power + task lighting early so the bench actually works. |
Scullery-style / “second kitchen” pantry (approx. 2.4 × 2.8 m+ or larger) | New builds, luxury homes (especially entertainers) | U-shaped or galley layout with full sink, dishwasher, and an extra fridge (or wine fridge). | Include a window or skylight if possible, plus generous bench space to prep and stage food; allow for extra ventilation/plumbing/electrical if it’s doing real cleanup work. Note: If you’re planning a galley (benches on both sides), make sure the room width can comfortably fit two standard-depth runs plus circulation—otherwise choose a single-run or L-shape. |
Three real-life butler’s pantry setups (and how they change the design)
Choose the setup first, then let it dictate the pantry format: butler’s nook/pantry wall, compact walk-in, or full scullery-style “second kitchen.”
These three real-life scenarios reflect common Australian layouts and show how footprint changes the best layout, storage, and whether a sink/wet zone is worth it. If you’re unsure whether your footprint can support a walk-in, jump to the Size & clearance quick reference first — it’ll quickly tell you whether you’re designing a walk-in or a pantry wall.
Scenario 1: Inner-city terrace — Butler’s nook / pantry wall (not a walk-in)
Best when: you want the butler’s pantry benefits, but you don’t have enough width for a true walk-in.
Footprint to plan for (typical):
- Single-wall nook: ~1.8–2.4 m long of cabinetry/bench along a wall (often behind doors or a cavity slider). Use ~600 mm bench depth as your default.
- If you must enclose a very tight room: Designers note that at ~1.2 m room width, you’re usually forced into ~400 mm-deep bench/shelving to keep an ~800 mm walk space. That’s workable for light prep/coffee, but it’s a compromise.
How it changes the design:
- Prioritise power + bench space over a sink (a sink eats precious landing space in micro layouts).
- Use tall vertical storage and keep the “coffee/appliance zone” as the hero function.
- If it’s visible from the kitchen, plan mostly closed storage (or styled open shelving only).
Scenario 2: Suburban family kitchen — Compact walk-in butler’s pantry (around the 1.6 × 2.2 “modest pantry” bracket)
Best when: you want a genuine walk-in that can handle school lunches, daily mess, and appliance overflow.
Footprint to plan for (minimum functional):
- Use the Size & clearance quick reference in the sizing section below, then pressure-test it against your actual appliance list (microwave, coffee machine, second fridge) and door swings. The goal is a walk-in that feels effortless at peak times (school mornings, dinner prep), not a narrow corridor.
How it changes the design:
- This is the sweet spot for an L-shape: one run for appliances/coffee, one run for food + drawers.
- A small prep sink can be worth it here—if it doesn’t steal your only usable bench length.
- Go heavier on deep drawers (lunch gear, snacks, platters) and add task lighting so it works morning-to-night
Scenario 3: Entertainer’s new build — Full Scullery-style pantry (2.4 × 2.8 m+ “second kitchen”) with wet zone
Best when: you want the pantry to function like a “second kitchen” for prep + cleanup + staging.
Footprint to plan for (full-feature):
- For a pantry that includes multiple appliances and a wet zone, we suggest allowing upwards of ~2.4 m × 2.8 m.
- You can also go for ~2.4 m × 3 m when you’re including fridge/sink/microwave scale features.
How it changes the design:
Design it in zones:
- Dry zone: coffee + toaster + snack drawers + staging bench
- Wet zone: sink (and possibly dishwasher) + bins + cleaning storage
Ventilation note (especially for enclosed pantries): Enclosed pantries can trap heat and moisture from appliances and dishwashing.
The NCC includes ventilation requirements for rooms used by a person, so it’s worth planning airflow early. Confirm the right ventilation approach with your builder/electrician/plumber, especially for enclosed pantries with sinks, dishwashers or heat-generating appliances. Depending on your layout, solutions can include a window, door louvre/transfer grille, or mechanical extraction.
Expert Tip (walk-in / walk-through): For comfortable movement, start with ~1000 mm aisle plus ~600 mm benchtop depth. If you can’t achieve something close to that, plan a butler’s nook/pantry wall instead of forcing a narrow room.
Also Read: 45 Home Coffee Bar Ideas for All Budgets, Room Sizes, & Aesthetics
Take inventory first (it’s the fastest way to avoid a butler’s pantry that “looks right” but doesn’t work)
Before you think about cabinetry, do a quick inventory. It’s not glamorous—but it’s the step that stops you paying for storage you can’t actually use.
- Pull everything out that you want to live in the butler’s pantry: appliances, platters, bulk dry goods, school lunch gear, wine glasses, serving bowls.
- Measure the awkward items (stand mixers, air fryers, tall canisters, baking trays). Write the heights down.
- Decide what you want on show vs hidden. If the pantry is visible from the kitchen, open shelving becomes a styling choice—not just storage.
- Circle your “daily drivers”. Kettle, toaster, coffee gear, the one chopping board you always reach for—those deserve the most accessible spots.
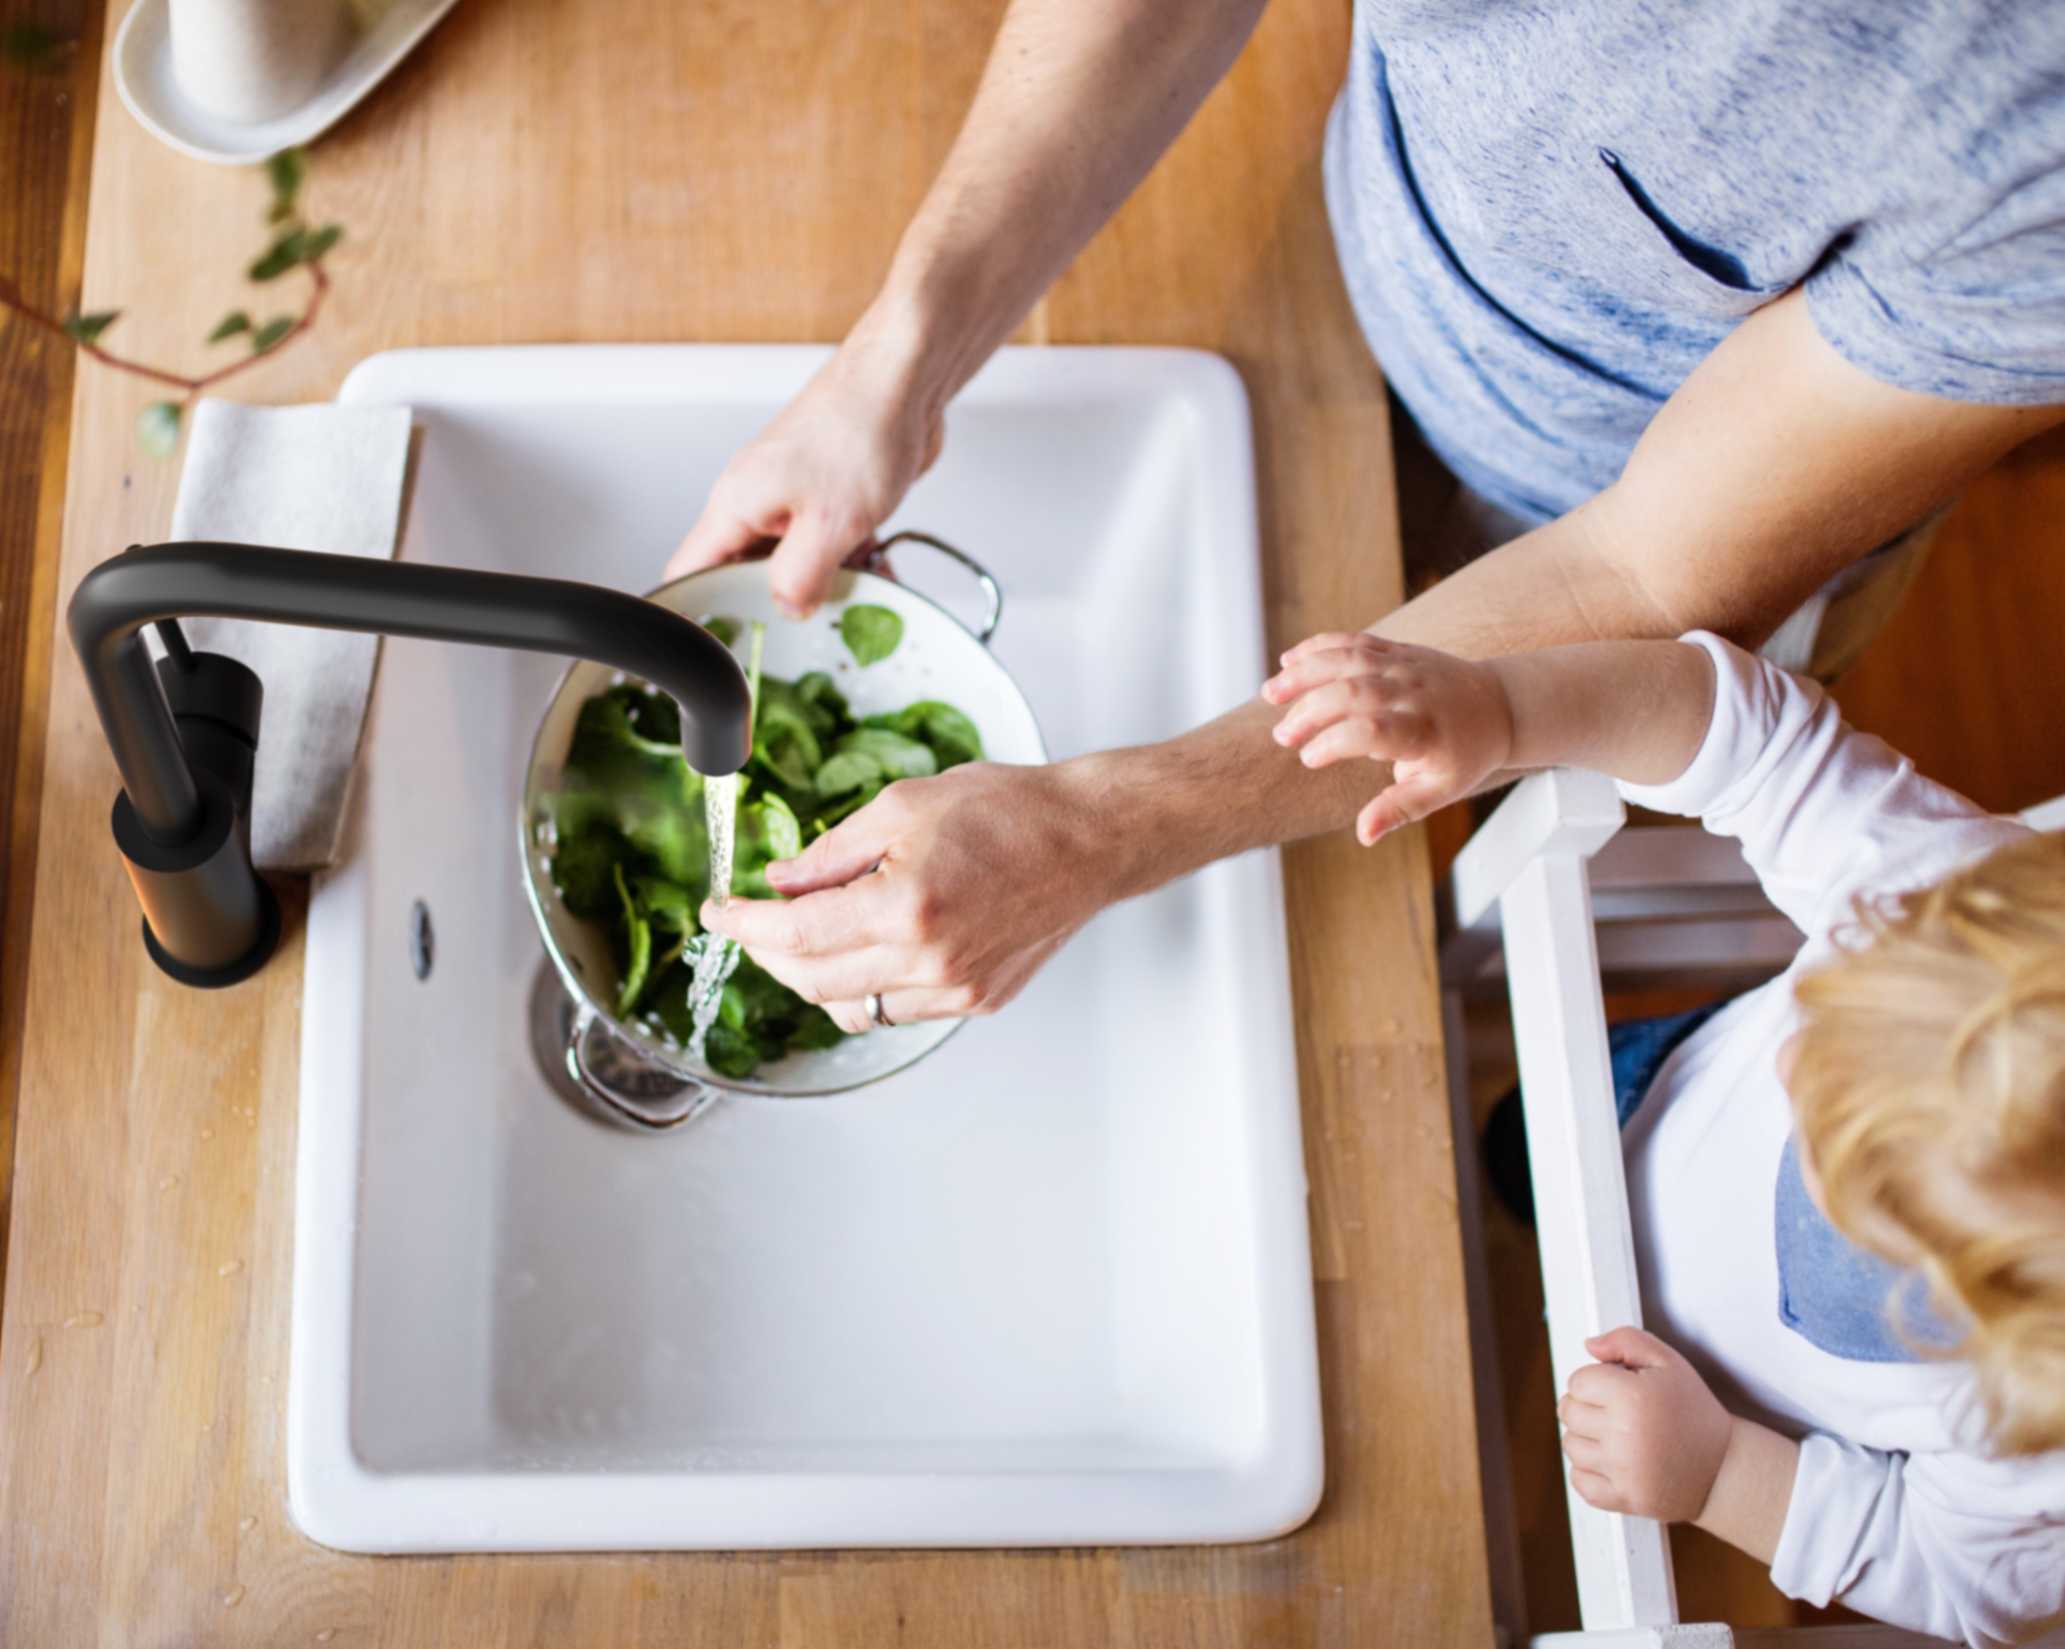
Nero Design Tip: If you’re planning a sink, list the tasks you’ll actually do there (rinsing produce, filling a mop bucket, soaking trays). That will tell you whether you need a pull-out spray, extra clearance, or simply more benchtop.
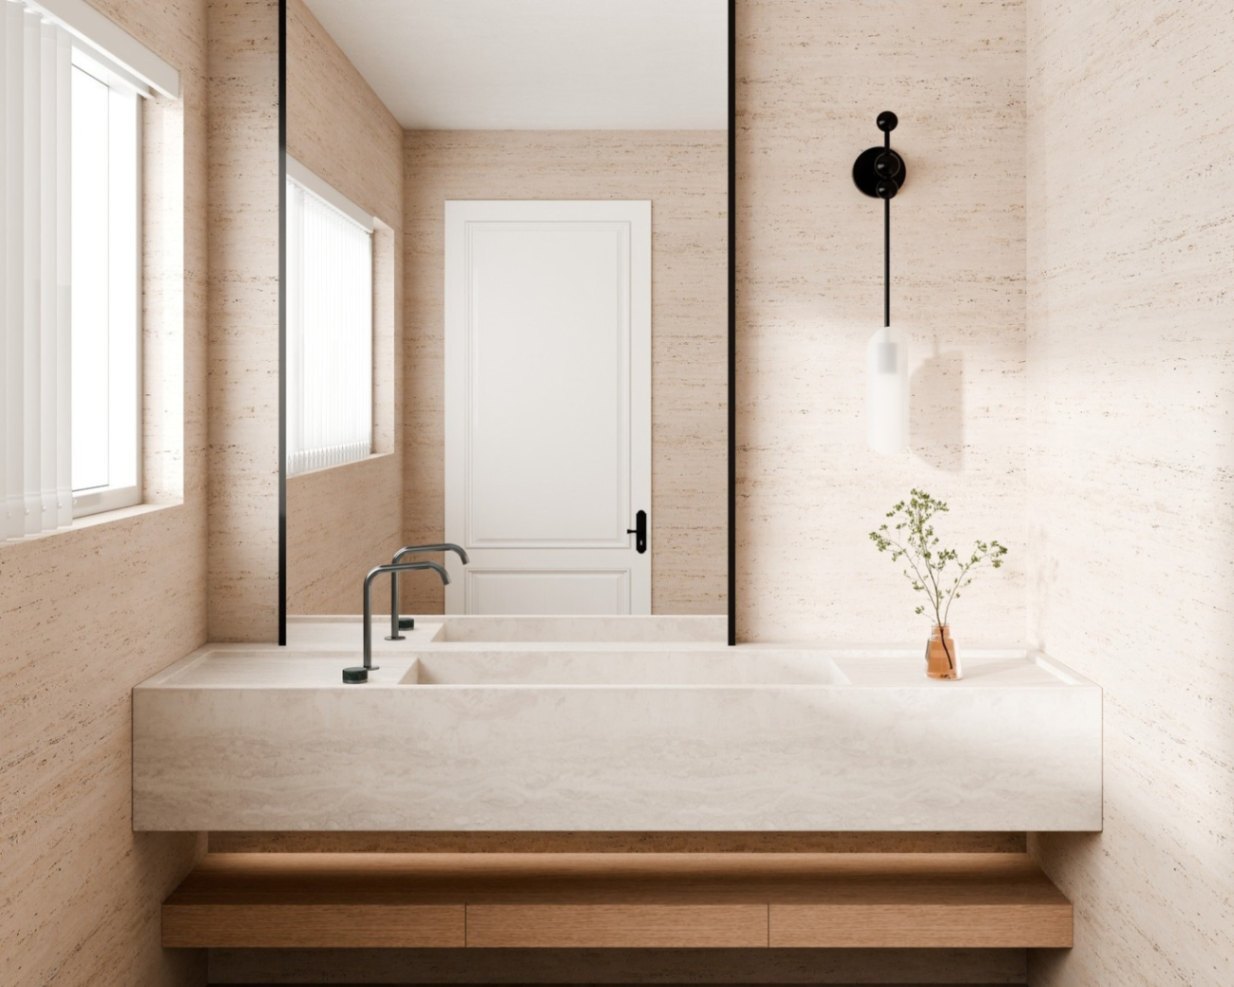
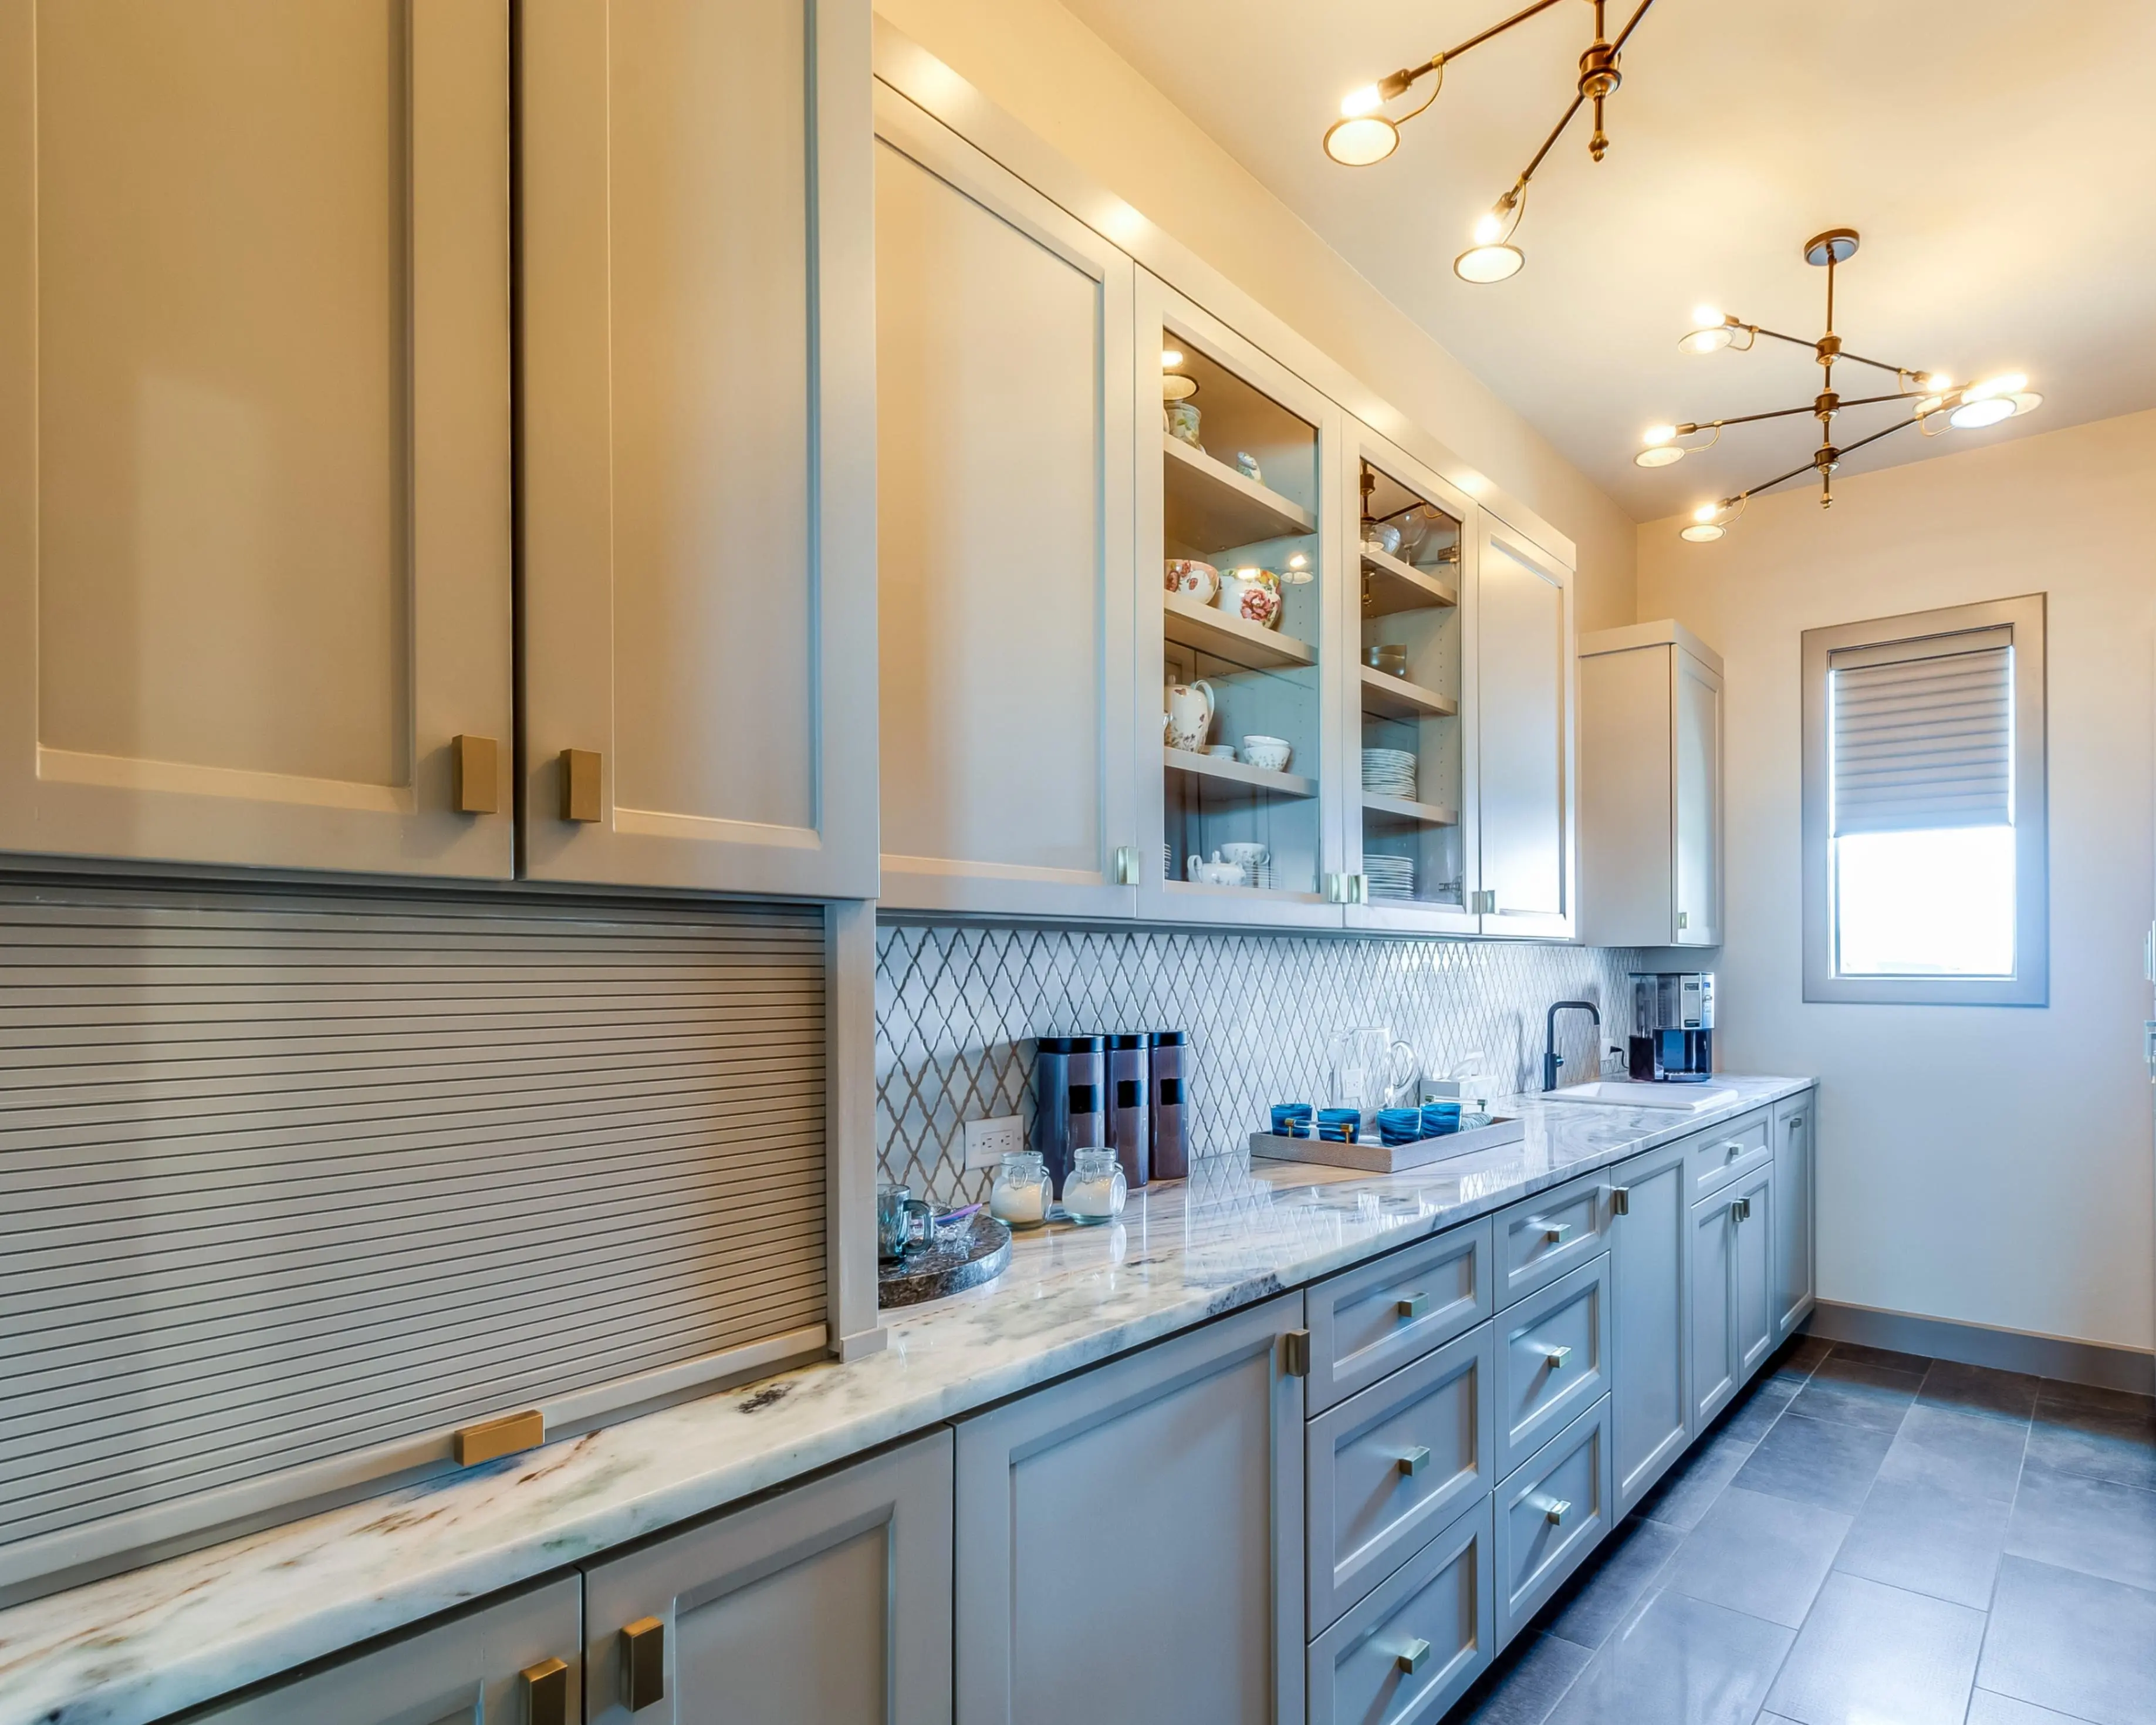
Planning your butler’s pantry layout and workflow
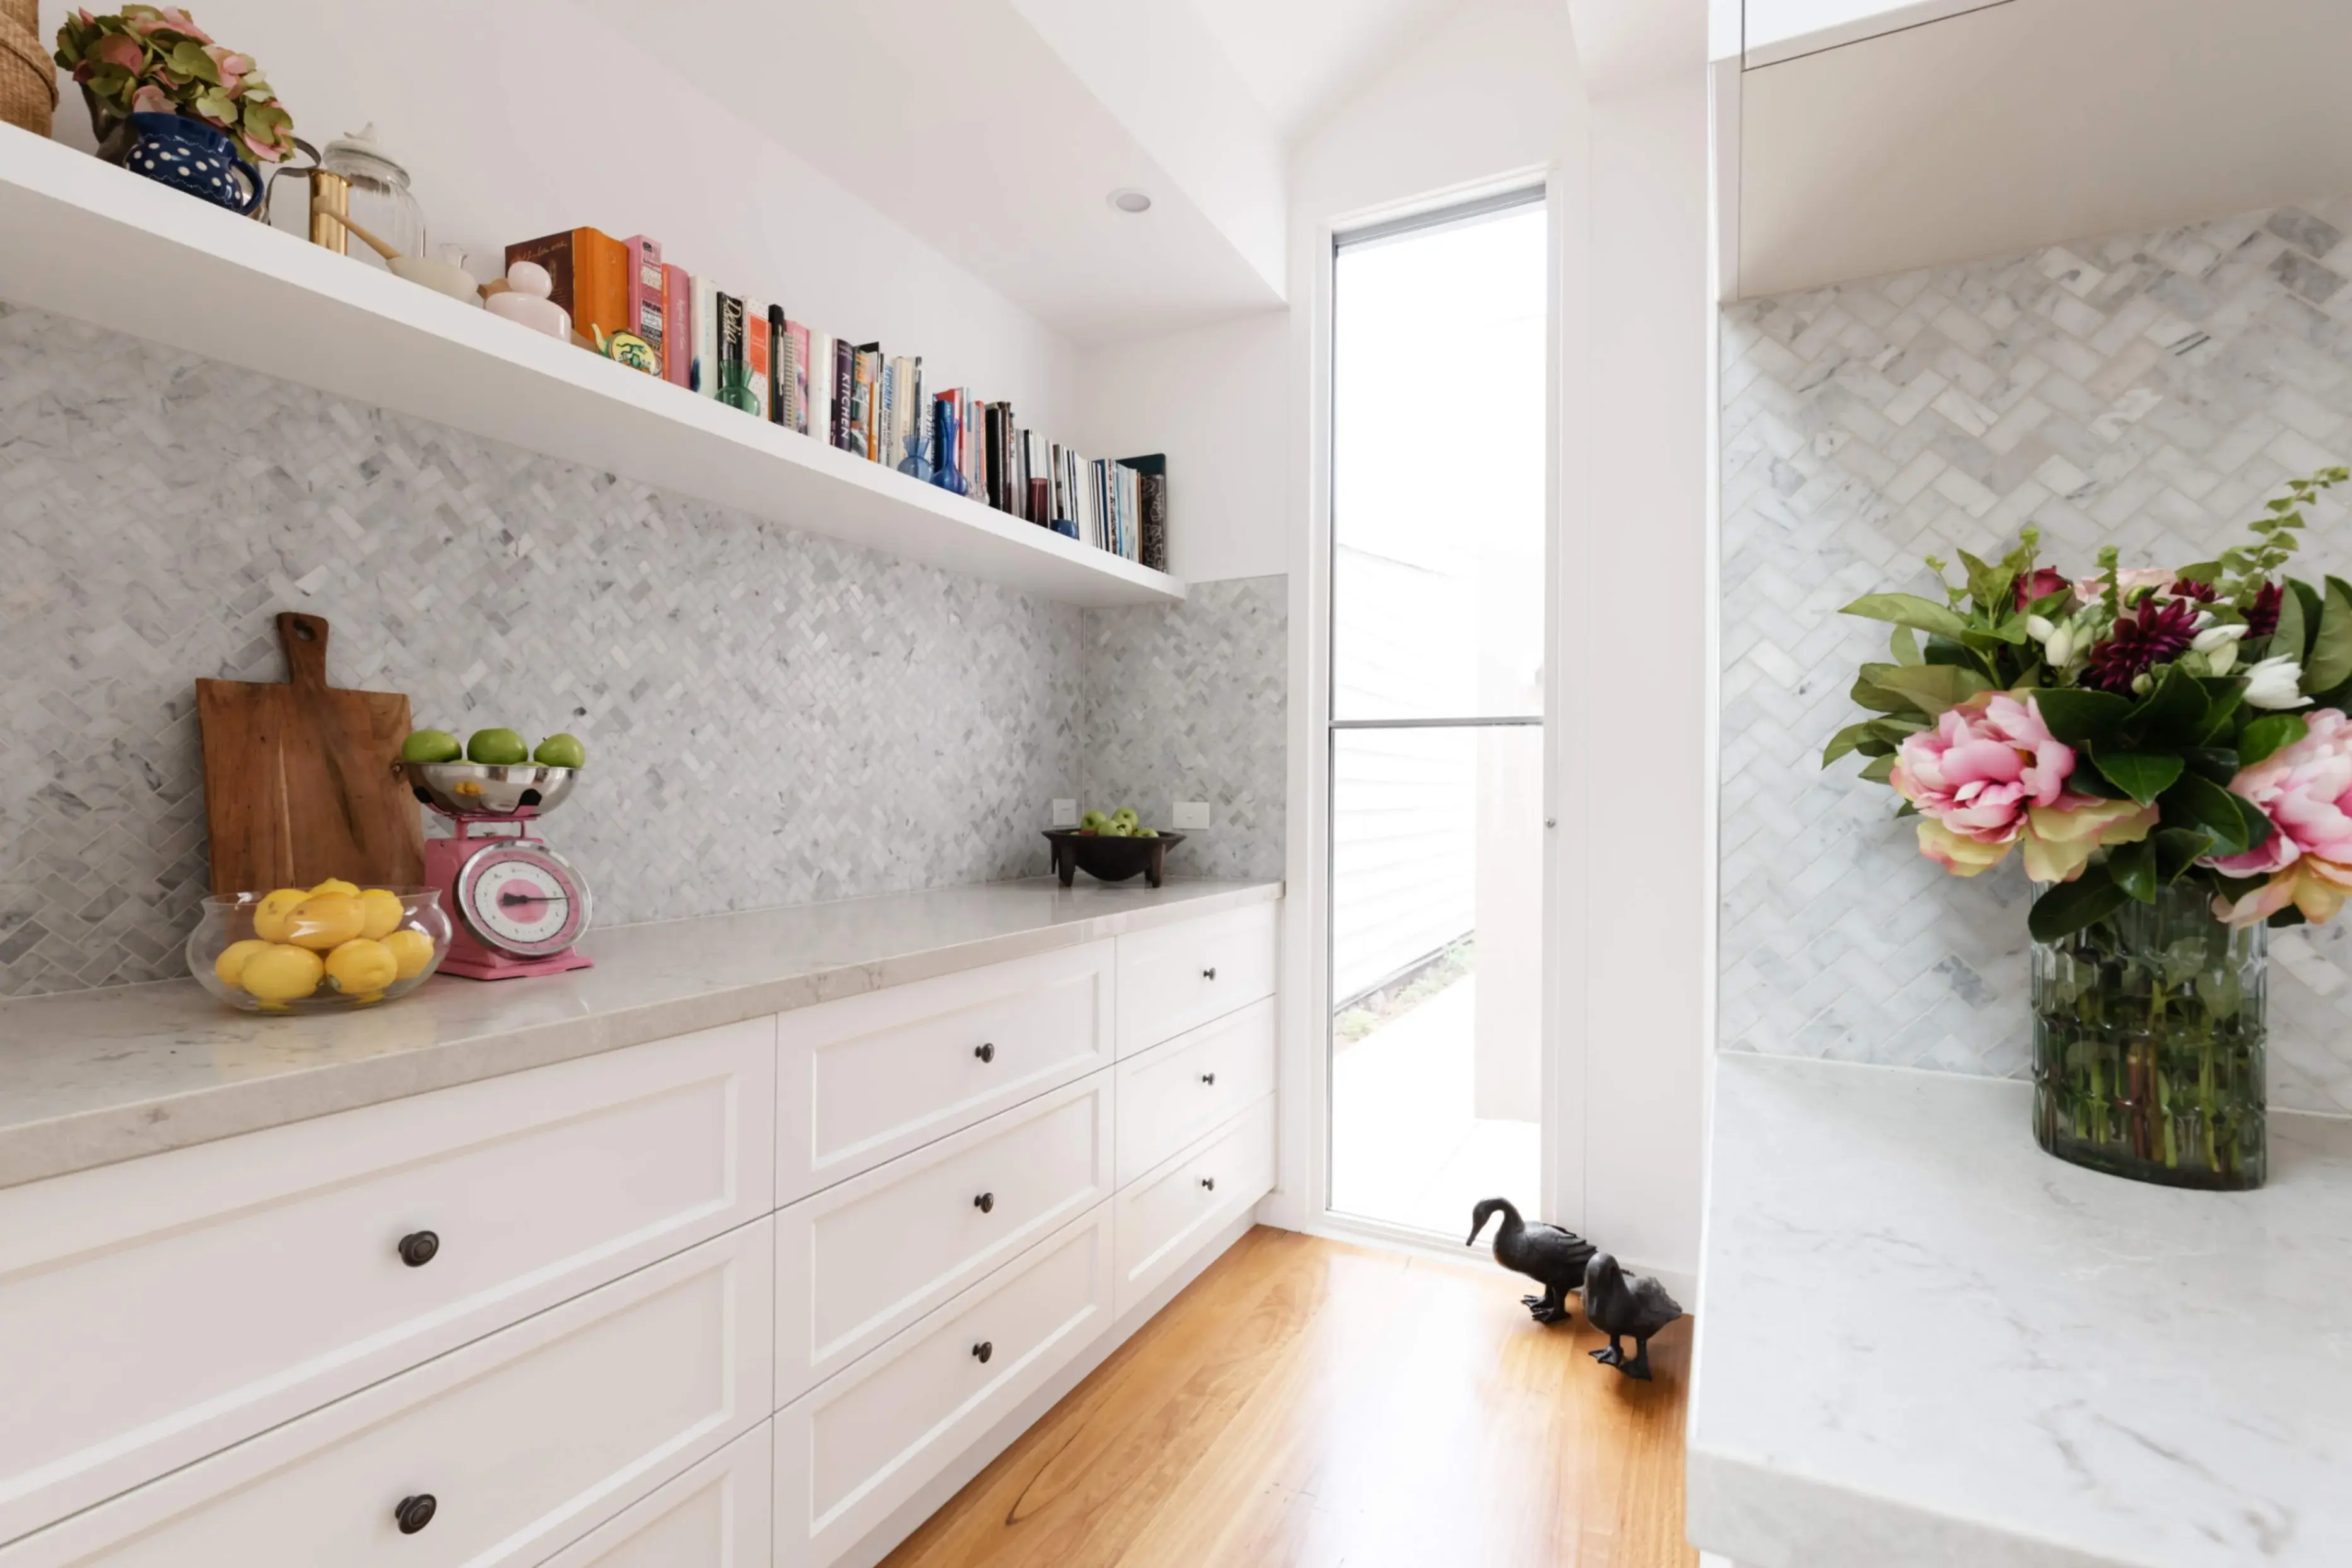
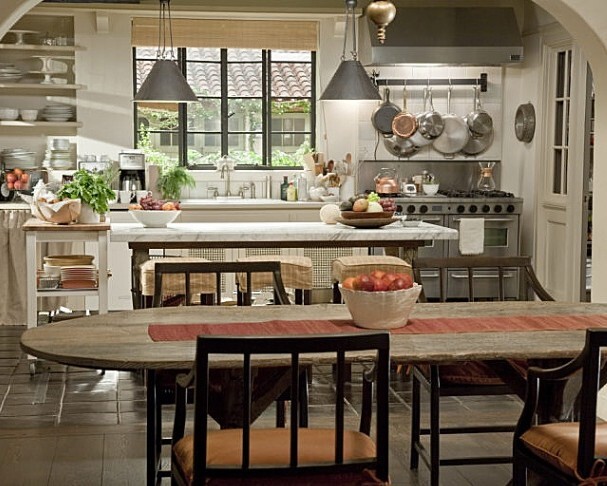
Source: jodiejohnson
Layout determines how efficiently you can move between prep, cooking and cleaning. Follow these steps to create a logical flow:
- List your needs. Consider how you cook and entertain. Do you need space for a coffee station, wine fridge, or baking supplies? Each function requires bench space, power and storage. And when you list your needs, be unromantic: allow space for the appliances you already own (kettle, toaster, stand mixer), plus the ones you’re likely to add later (coffee machine, air fryer, second fridge).
- Place your pantry close to the kitchen. A butler’s pantry should be adjacent to the kitchen or between the kitchen and dining room. Use sliding doors, pocket doors or archways so it feels connected yet discreet.
- Zone the tasks. Divide the space into storage (tall cabinets for dry goods, small appliances and bulky servingware), prep (bench area with sink if possible) and clean‑up (spot for dirty dishes and waste bins). Position frequently used items at eye level and heavier appliances at waist height.
- Plan for power and plumbing. Even a small pantry needs multiple power points for toasters and mixers. If you install a sink, ensure the plumbing lines can be connected conveniently. If you’re adding a sink or fixed appliances, confirm the right setup with licensed trades (plumber/electrician/builder) early — it’s the easiest way to get power, plumbing, lighting and ventilation right without rework later.
Expert Tip: A sink is a budget decision, not just a design decision. Adding a sink usually means plumbing changes, waterproofing considerations, and (in enclosed pantries) a stronger need for ventilation. If you’re deciding between “sink” and “more benchtop”, cost and build complexity are often the tie-breakers.
The design features that make a butler’s pantry feel effortless (not fussy)
A butler’s pantry can look beautiful and still be annoying to use. These features are the difference:
- Open shelving (for speed): Best for everyday mugs, bowls and the things you actually reach for.
- Drawer-base cabinetry (for bulk + awkward items): Deep drawers stop platters, baking trays and appliances becoming a top-shelf wrestling match.
- Wireware + pull-outs (for visibility): Ideal for spices, condiments and “small chaos” items that get lost at the back.
- Under-bench bins (for realism): If you prep or rinse in here, a concealed bin isn’t optional—it’s how the pantry stays calm.
Nero Design Tip: Decide your finish family early (e.g., brushed nickel, matte black, brushed gold). A consistent finish across tapware + hardware is what makes a pantry feel designed—not like an afterthought.
Butler’s pantry layout ideas (walk-in + pantry wall options)
The layouts below break down the most common (and most buildable) options—so you can pick the right mix of bench space, storage type, and circulation. Start by deciding if you’re building a single-run pantry wall or a walk-in/walk-through room, then design around daily habits: where groceries land, where appliances live, and where mess gets hidden.
In a hurry? Choose your layout first:
- Pantry wall / butler’s nook for tight footprints (appliance + coffee zone behind doors).
- Compact walk-in when you want a true prep + storage room (often L-shape).
- Walk-through pantry for a grocery path to laundry/garage.
- Scullery-style when you want sink + cleanup + staging in a “second kitchen.”
- Laundry combo when space is limited — plan wet/dry separation and ventilation early.
1 Butler’s nook / pantry wall (appliance + coffee zone)
A pantry wall is a single-run setup — often behind double doors or a cavity slider — that keeps appliances, breakfast prep and overflow storage out of sight. It’s ideal when you don’t have the width for a true walk-in aisle. Prioritise bench landing space, power points, and drawers for “daily drivers”.
2 Walk‑through pantry (behind the kitchen)
A walk‑through pantry sits directly behind the kitchen and leads to the laundry or garage. It usually features parallel benches and loads of storage. This design works well for families who want a clear path from shopping to storage. Include built‑in hampers or a chute if the space doubles as a laundry.
3 Hidden pantry
A hidden pantry is concealed behind cabinetry or a “secret” door that looks like a bank of cupboards. This sleek look suits modern and minimalist kitchens where everything is flush. Inside, use open shelves, drawers and glass cabinets for display. Make sure the door opening is wide enough to avoid bumping your elbows when carrying trays.
4 Butler’s pantry with fridge
Including a second refrigerator or wine cabinet in your pantry can ease pressure on the main kitchen. Position it near the entrance so you can unload groceries directly. If you’re limited on width, opt for an under‑bench bar fridge instead of a full‑height unit.
5 Butler’s pantry and laundry combo
Combining the pantry with the laundry is common in smaller homes. Keep food prep and washing separate by allocating one wall for cabinetry and the opposite wall for laundry appliances.
Use durable, water‑resistant finishes and ensure there’s adequate ventilation for dryers. A pull-out sink mixer (like Nero’s Mecca pull-out) makes rinsing produce, filling a mop bucket, and quick cleanup far easier — especially in a pantry–laundry combo.
Also Read: How to Design a Nancy Meyers Kitchen That Feels Like a Movie Set
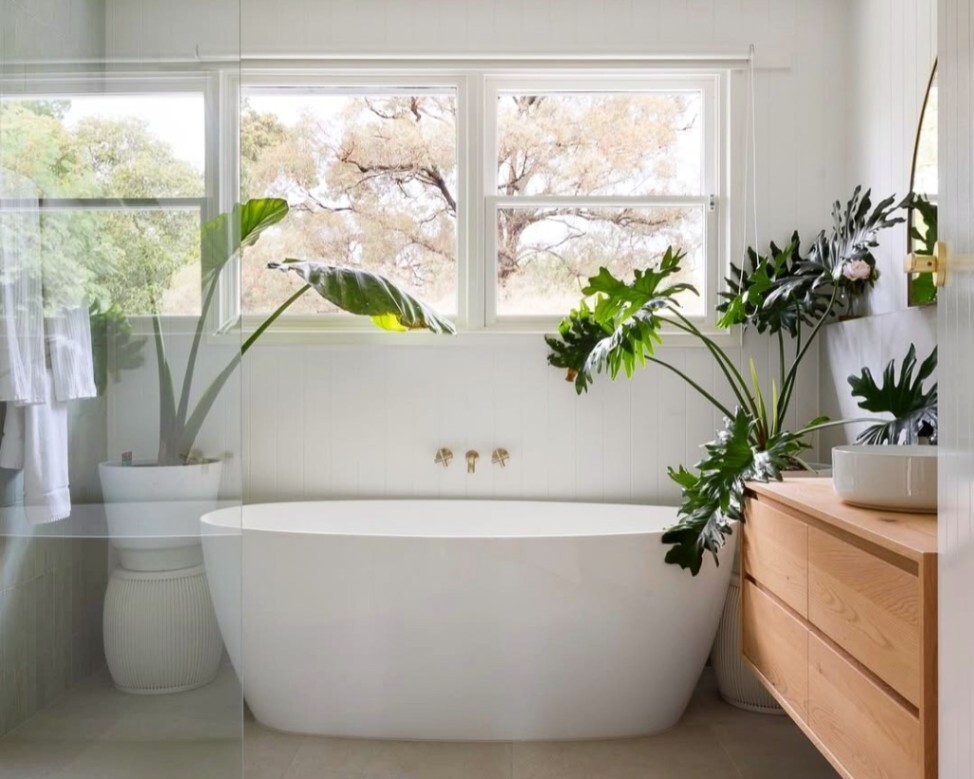
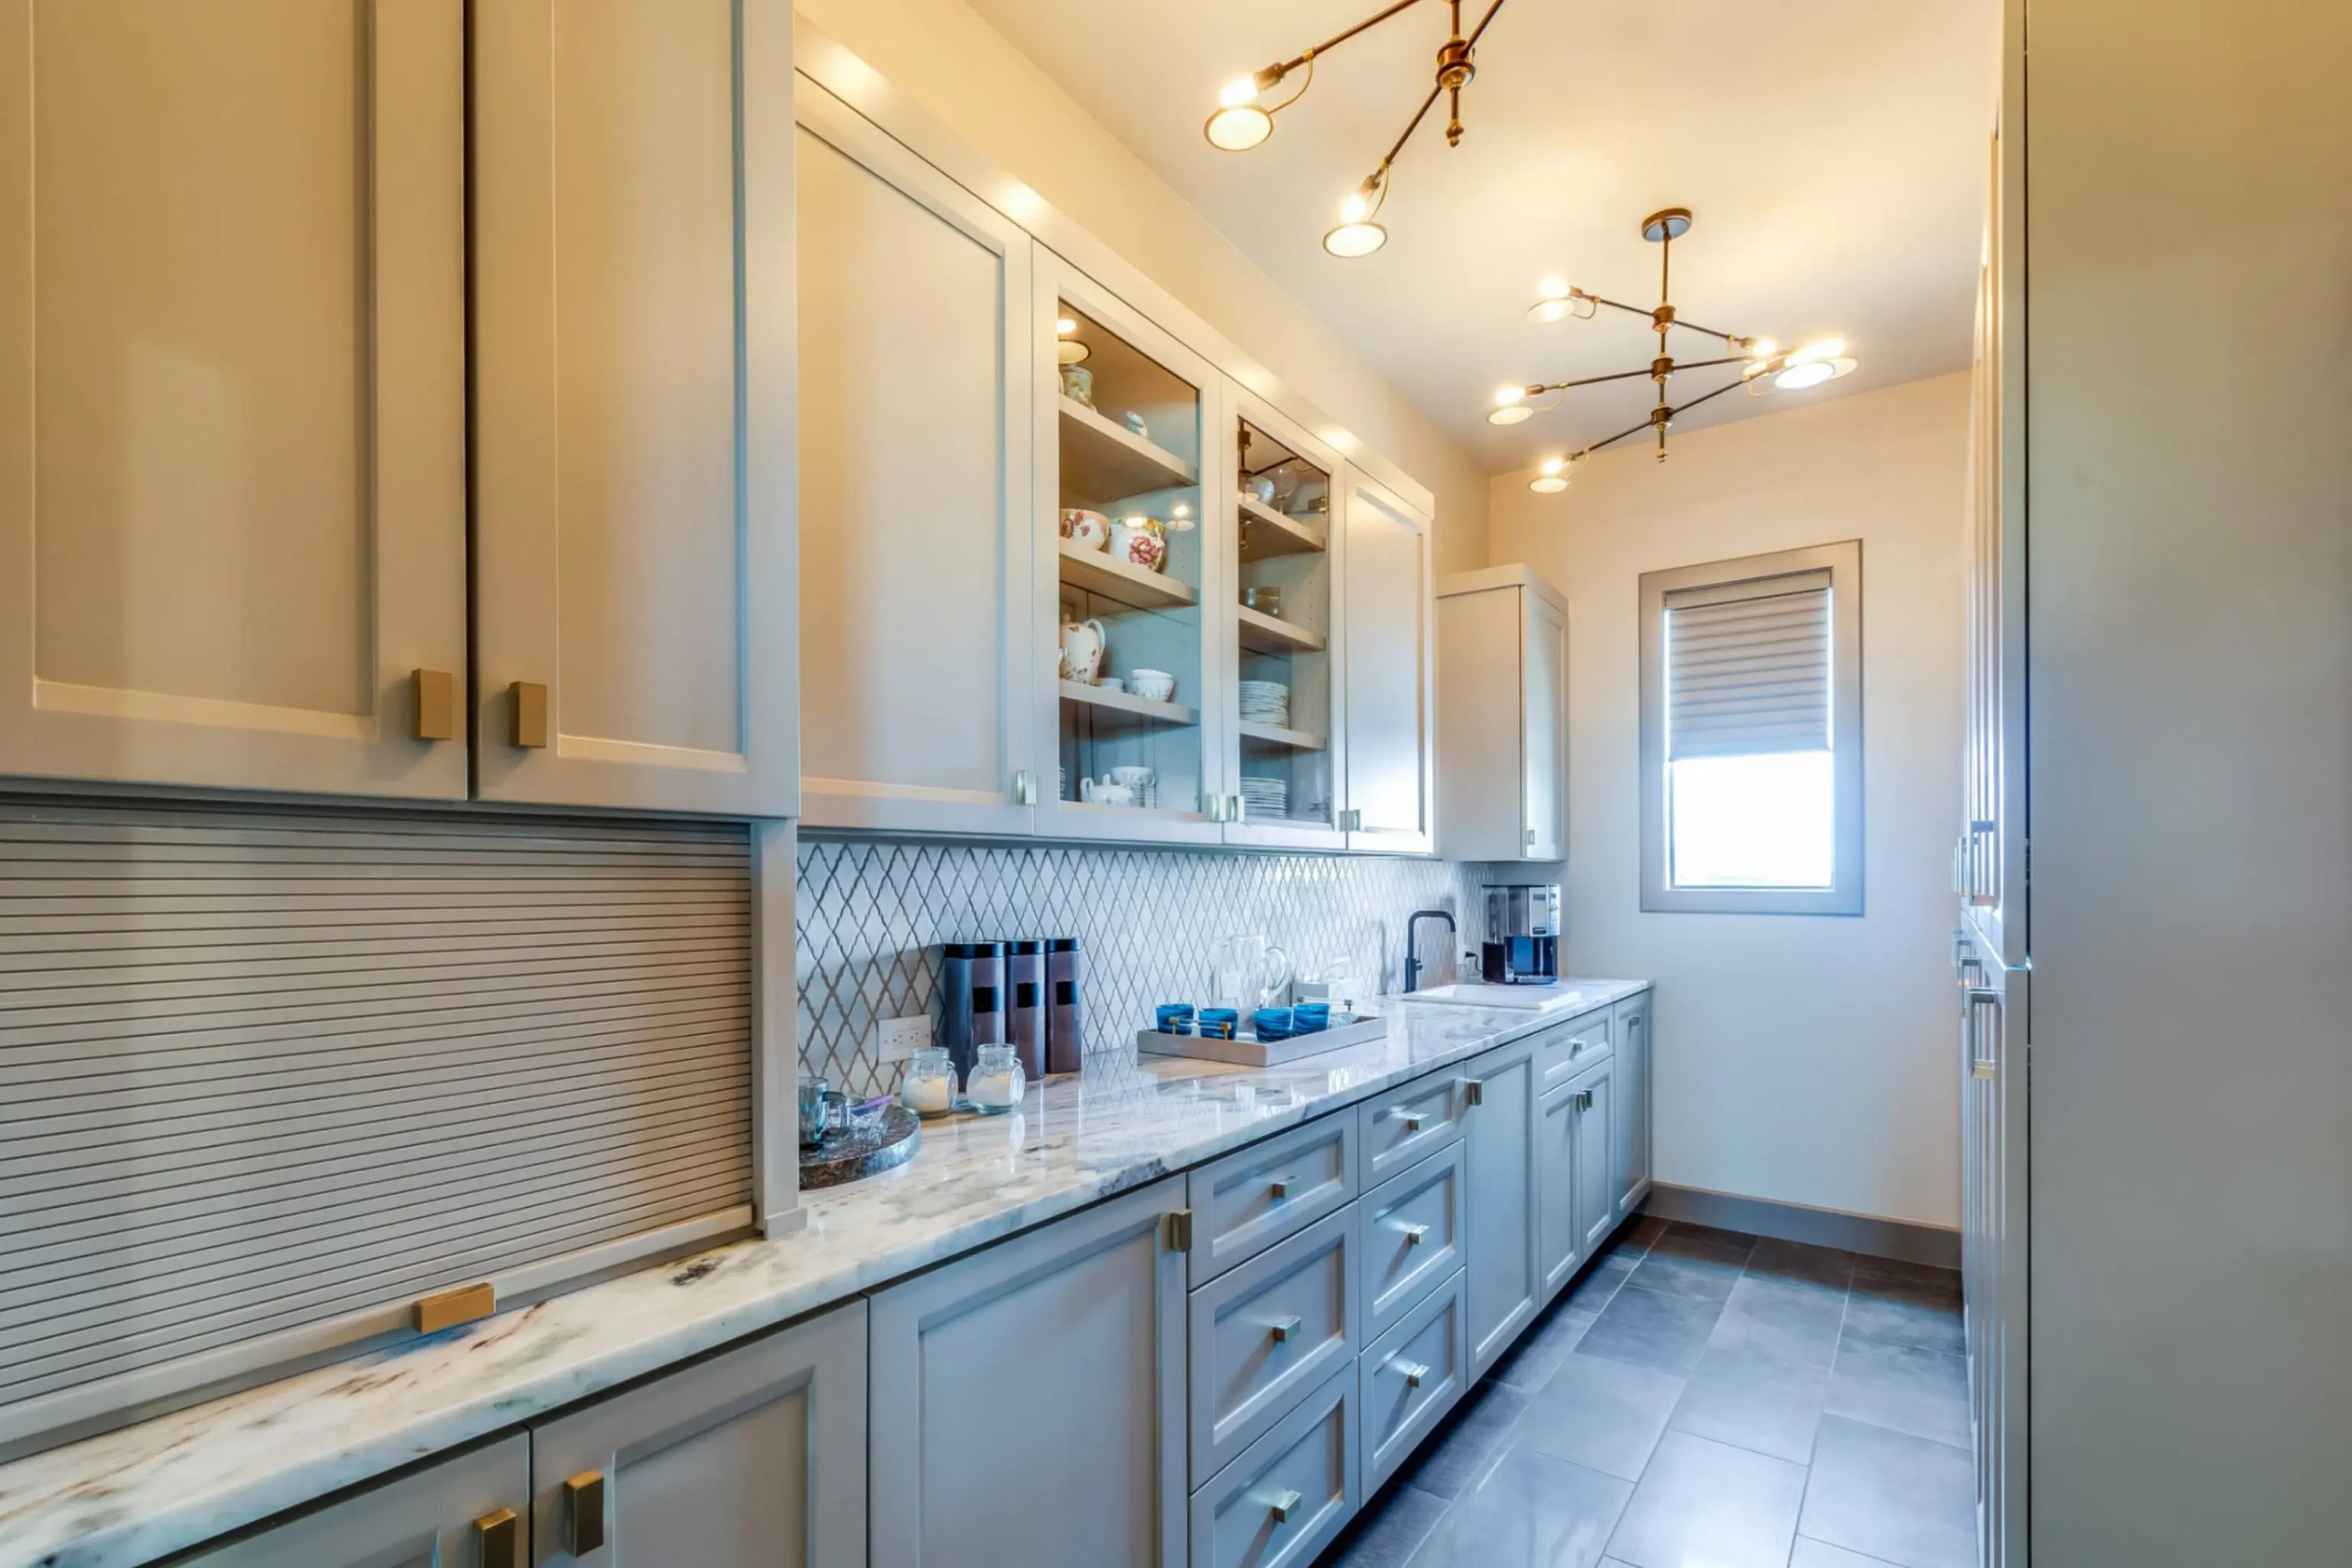
Butler’s pantry storage solutions and shelving ideas
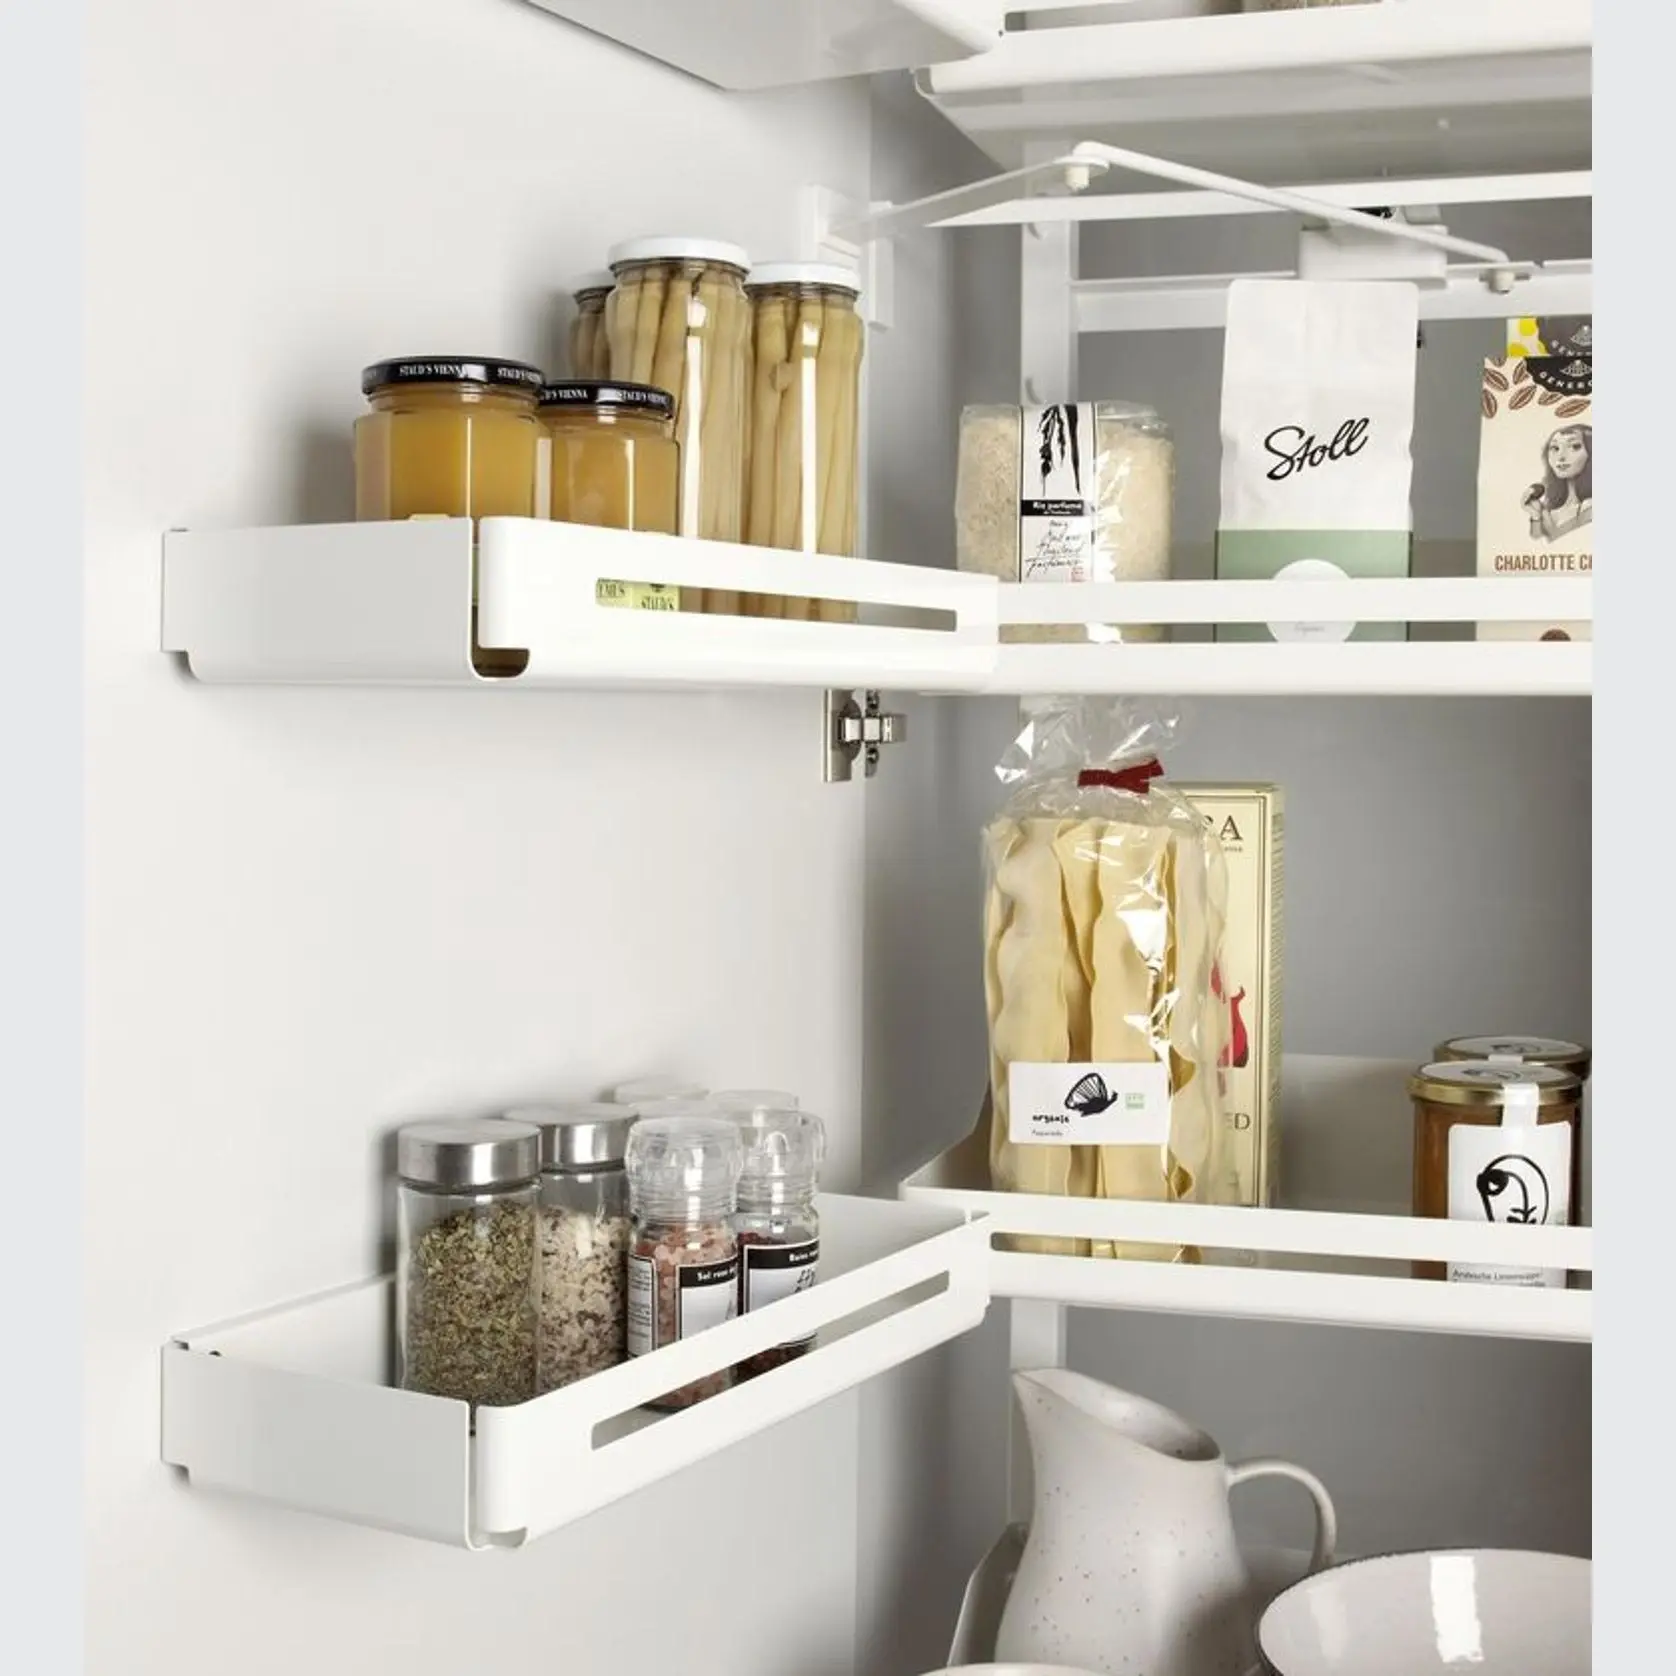
Source: ArchiPro
Storage is the heart of any butler’s pantry. To maximise capacity without sacrificing style:
- Mix open and closed storage. Open shelves keep everyday dishes, cookbooks and décor accessible, while closed cabinets hide less attractive items. (Read our blog on open shelving vs. closed cabinets too.)
- Deep drawers for bulk items. Drawers are perfect for storing platters, pots and small appliances. Drawer base cabinets are especially good for long, awkward items like platters, trays and boards—anything that tips over in cupboards and becomes a daily irritation.
- Pull‑out spice racks and wireware. Slim pull‑out shelves make spices, condiments and oils easy to see and grab.
- Adjustable shelving. Use adjustable shelves or ladder racks to handle items of different heights.
- Butler’s pantry shelving DIY. If you’re retrofitting a pantry, modular shelving from IKEA or Bunnings offers flexibility. Paint or stain shelving to match your kitchen; consider using Nero’s brushed nickel or matte black finishes for cabinet hardware to tie the spaces together.
If you can see the pantry from the kitchen, treat open shelves like a ‘set’ —plan for repeatable order:
Open shelving is brilliant for grab-and-go, but it’s visually honest—meaning clutter shows.
- Use matching, stackable canisters for flour, rice, pasta and snacks so packets don’t visually sprawl.
- Choose glass jars only if you’ll decant regularly (half-full jars can look messy).
- Keep one shelf as “breathing space” for the week’s chaos—otherwise every shelf becomes a dumping ground.
Nero Design Tips: A consistent finish (for example, brushed bronze or PVD black across tapware and hardware) makes open shelving feel intentional—even when real life is happening. If you love warm timber shelving, a brushed gold gooseneck mixer can add a quiet “jewellery” moment that ties the pantry back to the main kitchen.
Small butler’s pantry ideas (butler’s nooks + compact walk-ins)
Working with a tight footprint doesn’t mean compromising — whether you’re planning a pantry wall or a compact walk-in. Try these space‑savvy tricks:
- Tall and narrow storage: Install floor‑to‑ceiling shelving and use a small step ladder to access higher spots. Narrow shelving (200 mm deep) accommodates jars and spice bottles without encroaching on walkway width.
- Pull‑out benches: A pull‑out cutting board or sliding bench creates extra prep space when needed, then tucks away.
- Integrated appliances: Choose multi‑functional appliances like a combination microwave/oven or an all‑in‑one washer‑dryer for laundry‑pantry combos.
- Mirrors and glass: Mirror your splashback or choose glass cabinets to reflect light and make the room feel bigger.
Butler’s pantry on a budget (DIY & IKEA options)
You don’t need a custom joiner to build a functional pantry. Start with off-the-shelf cabinetry from IKEA, Kaboodle or Bunnings, then combine wall cabinets (for everyday storage) with drawer bases (for heavier, awkward items).
For benchtops, choose durable, easy-clean surfaces suited to pantry tasks — for example compact laminate, laminate, timber laminate, or porcelain/sintered surfaces, depending on your budget and the look you want. (You can also read our blog on kitchen island bench ideas for Aussie homes here.)
Nero Design Tip: If you’re upgrading functionality on a budget, prioritise one “daily-use” improvement — like a pot filler or pull-out sink mixer for rinsing and cleanup, and keep your finish family consistent with the main kitchen so the space feels intentional.
Always secure cabinets to studs, confirm levels, and use licensed trades where required — safety comes first.
Also Read: Open Shelving vs. Closed Cabinets: Which Is Right for Your Kitchen?
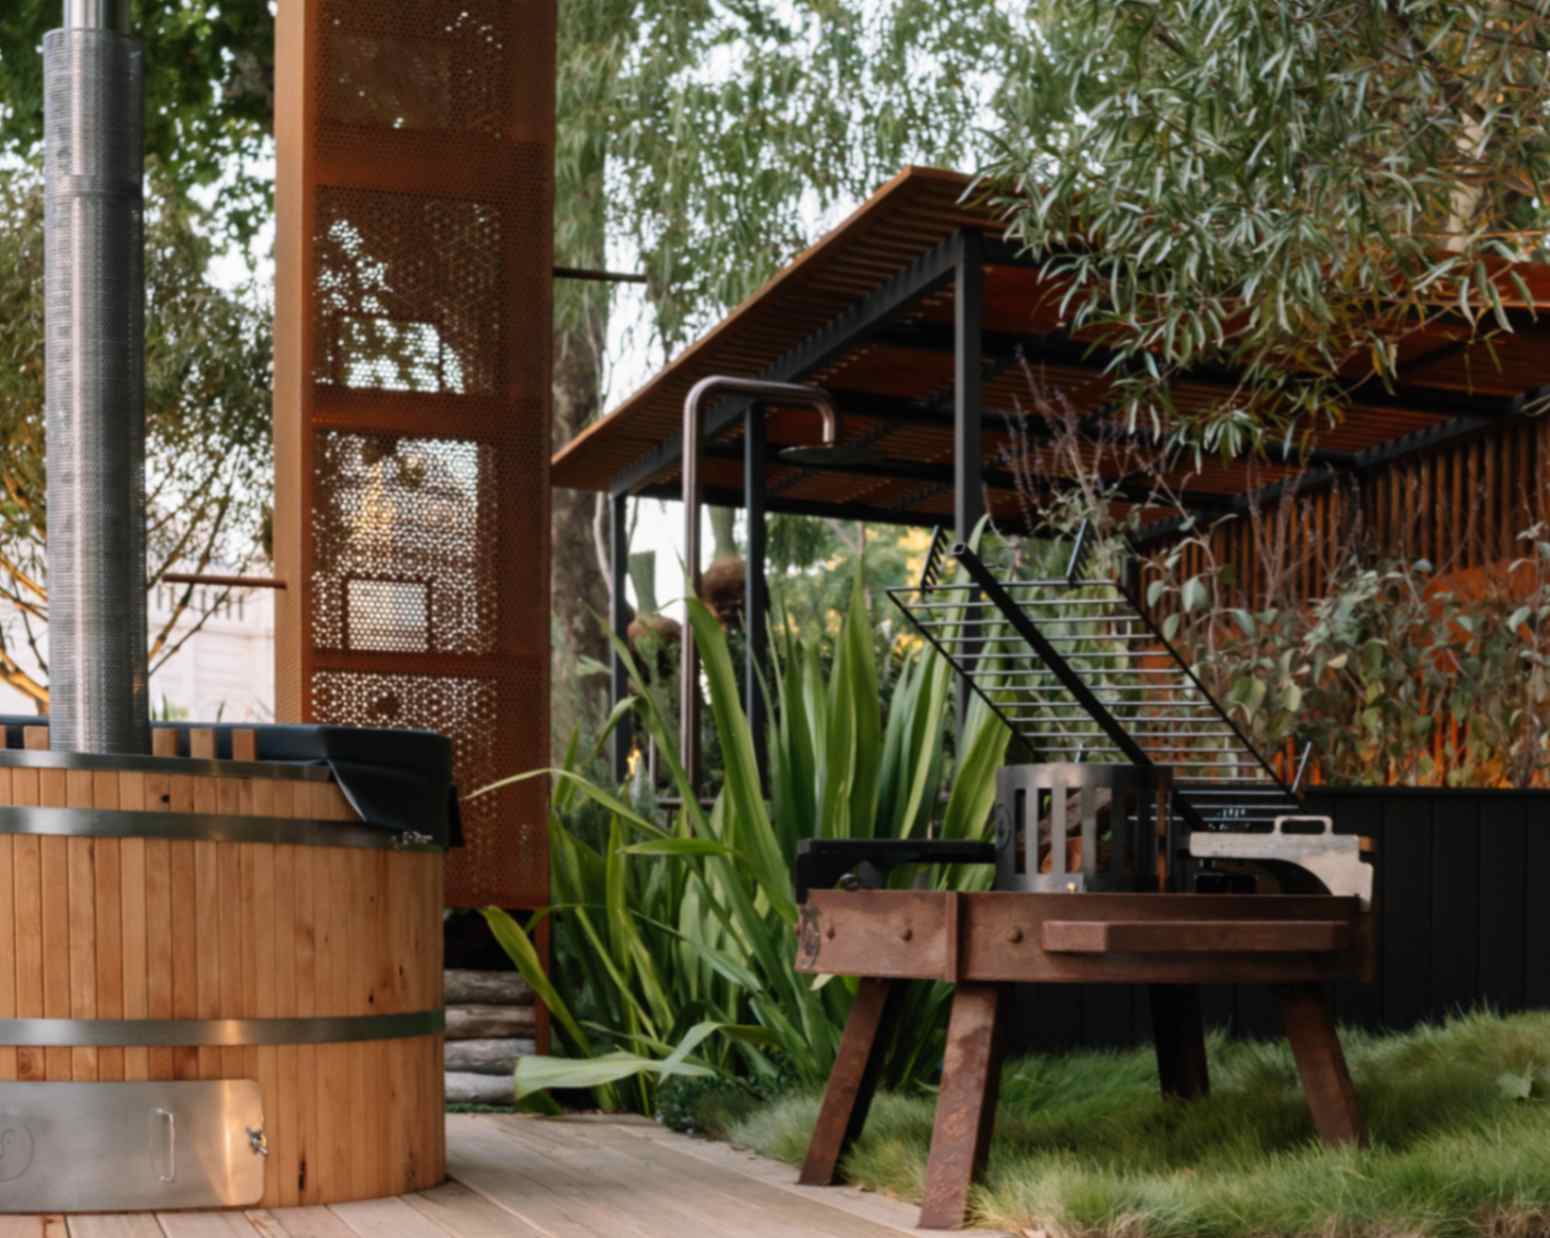
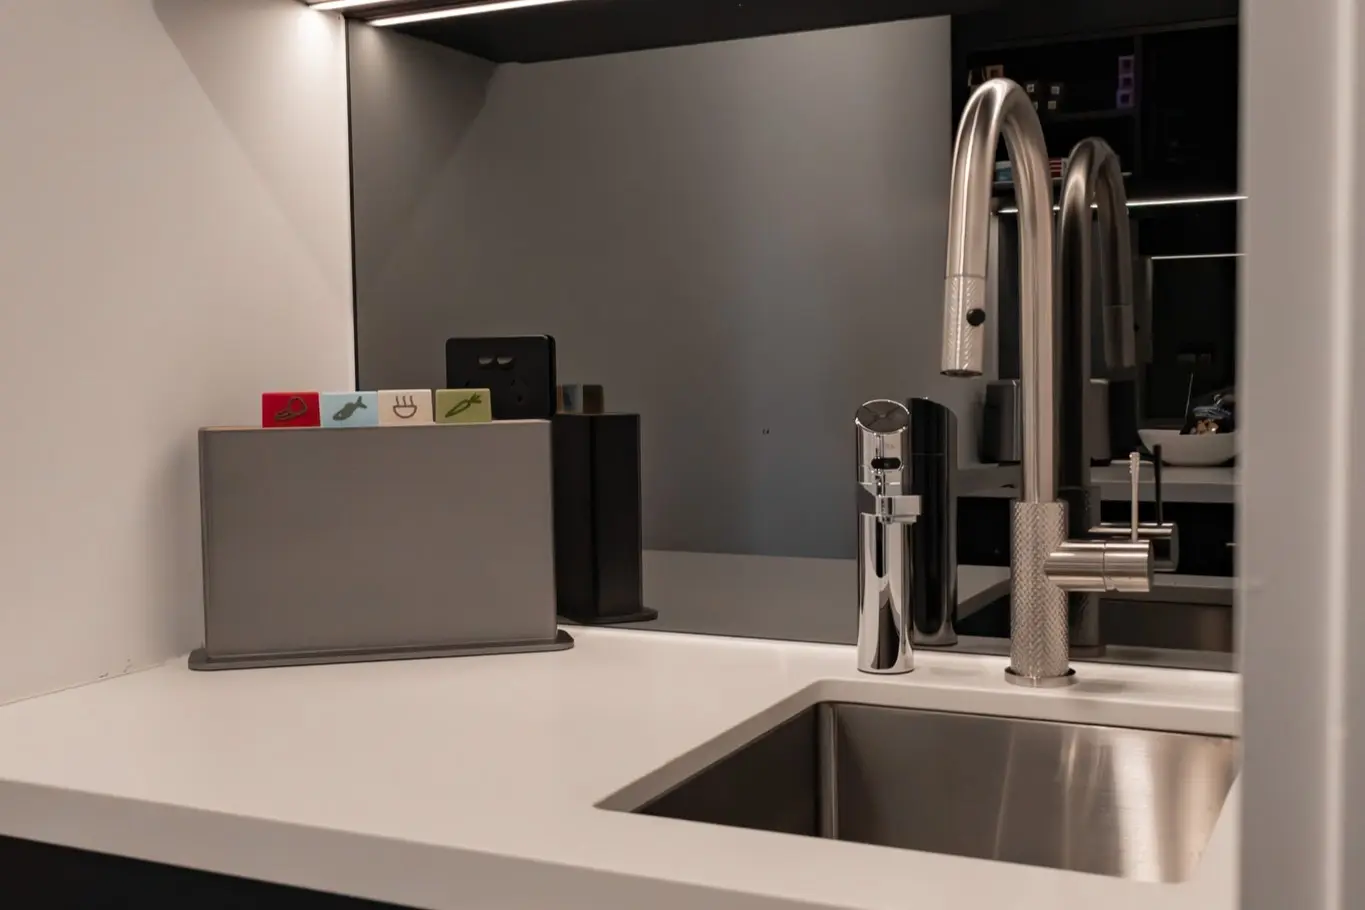
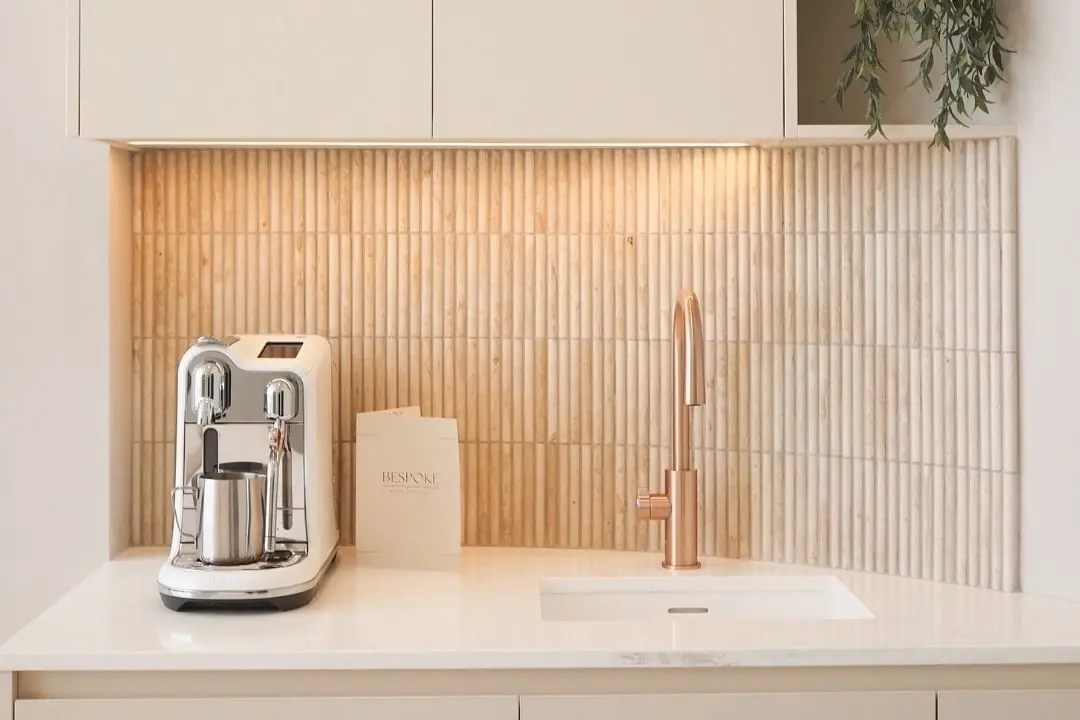
How to choose your butler’s pantry finishes and design style
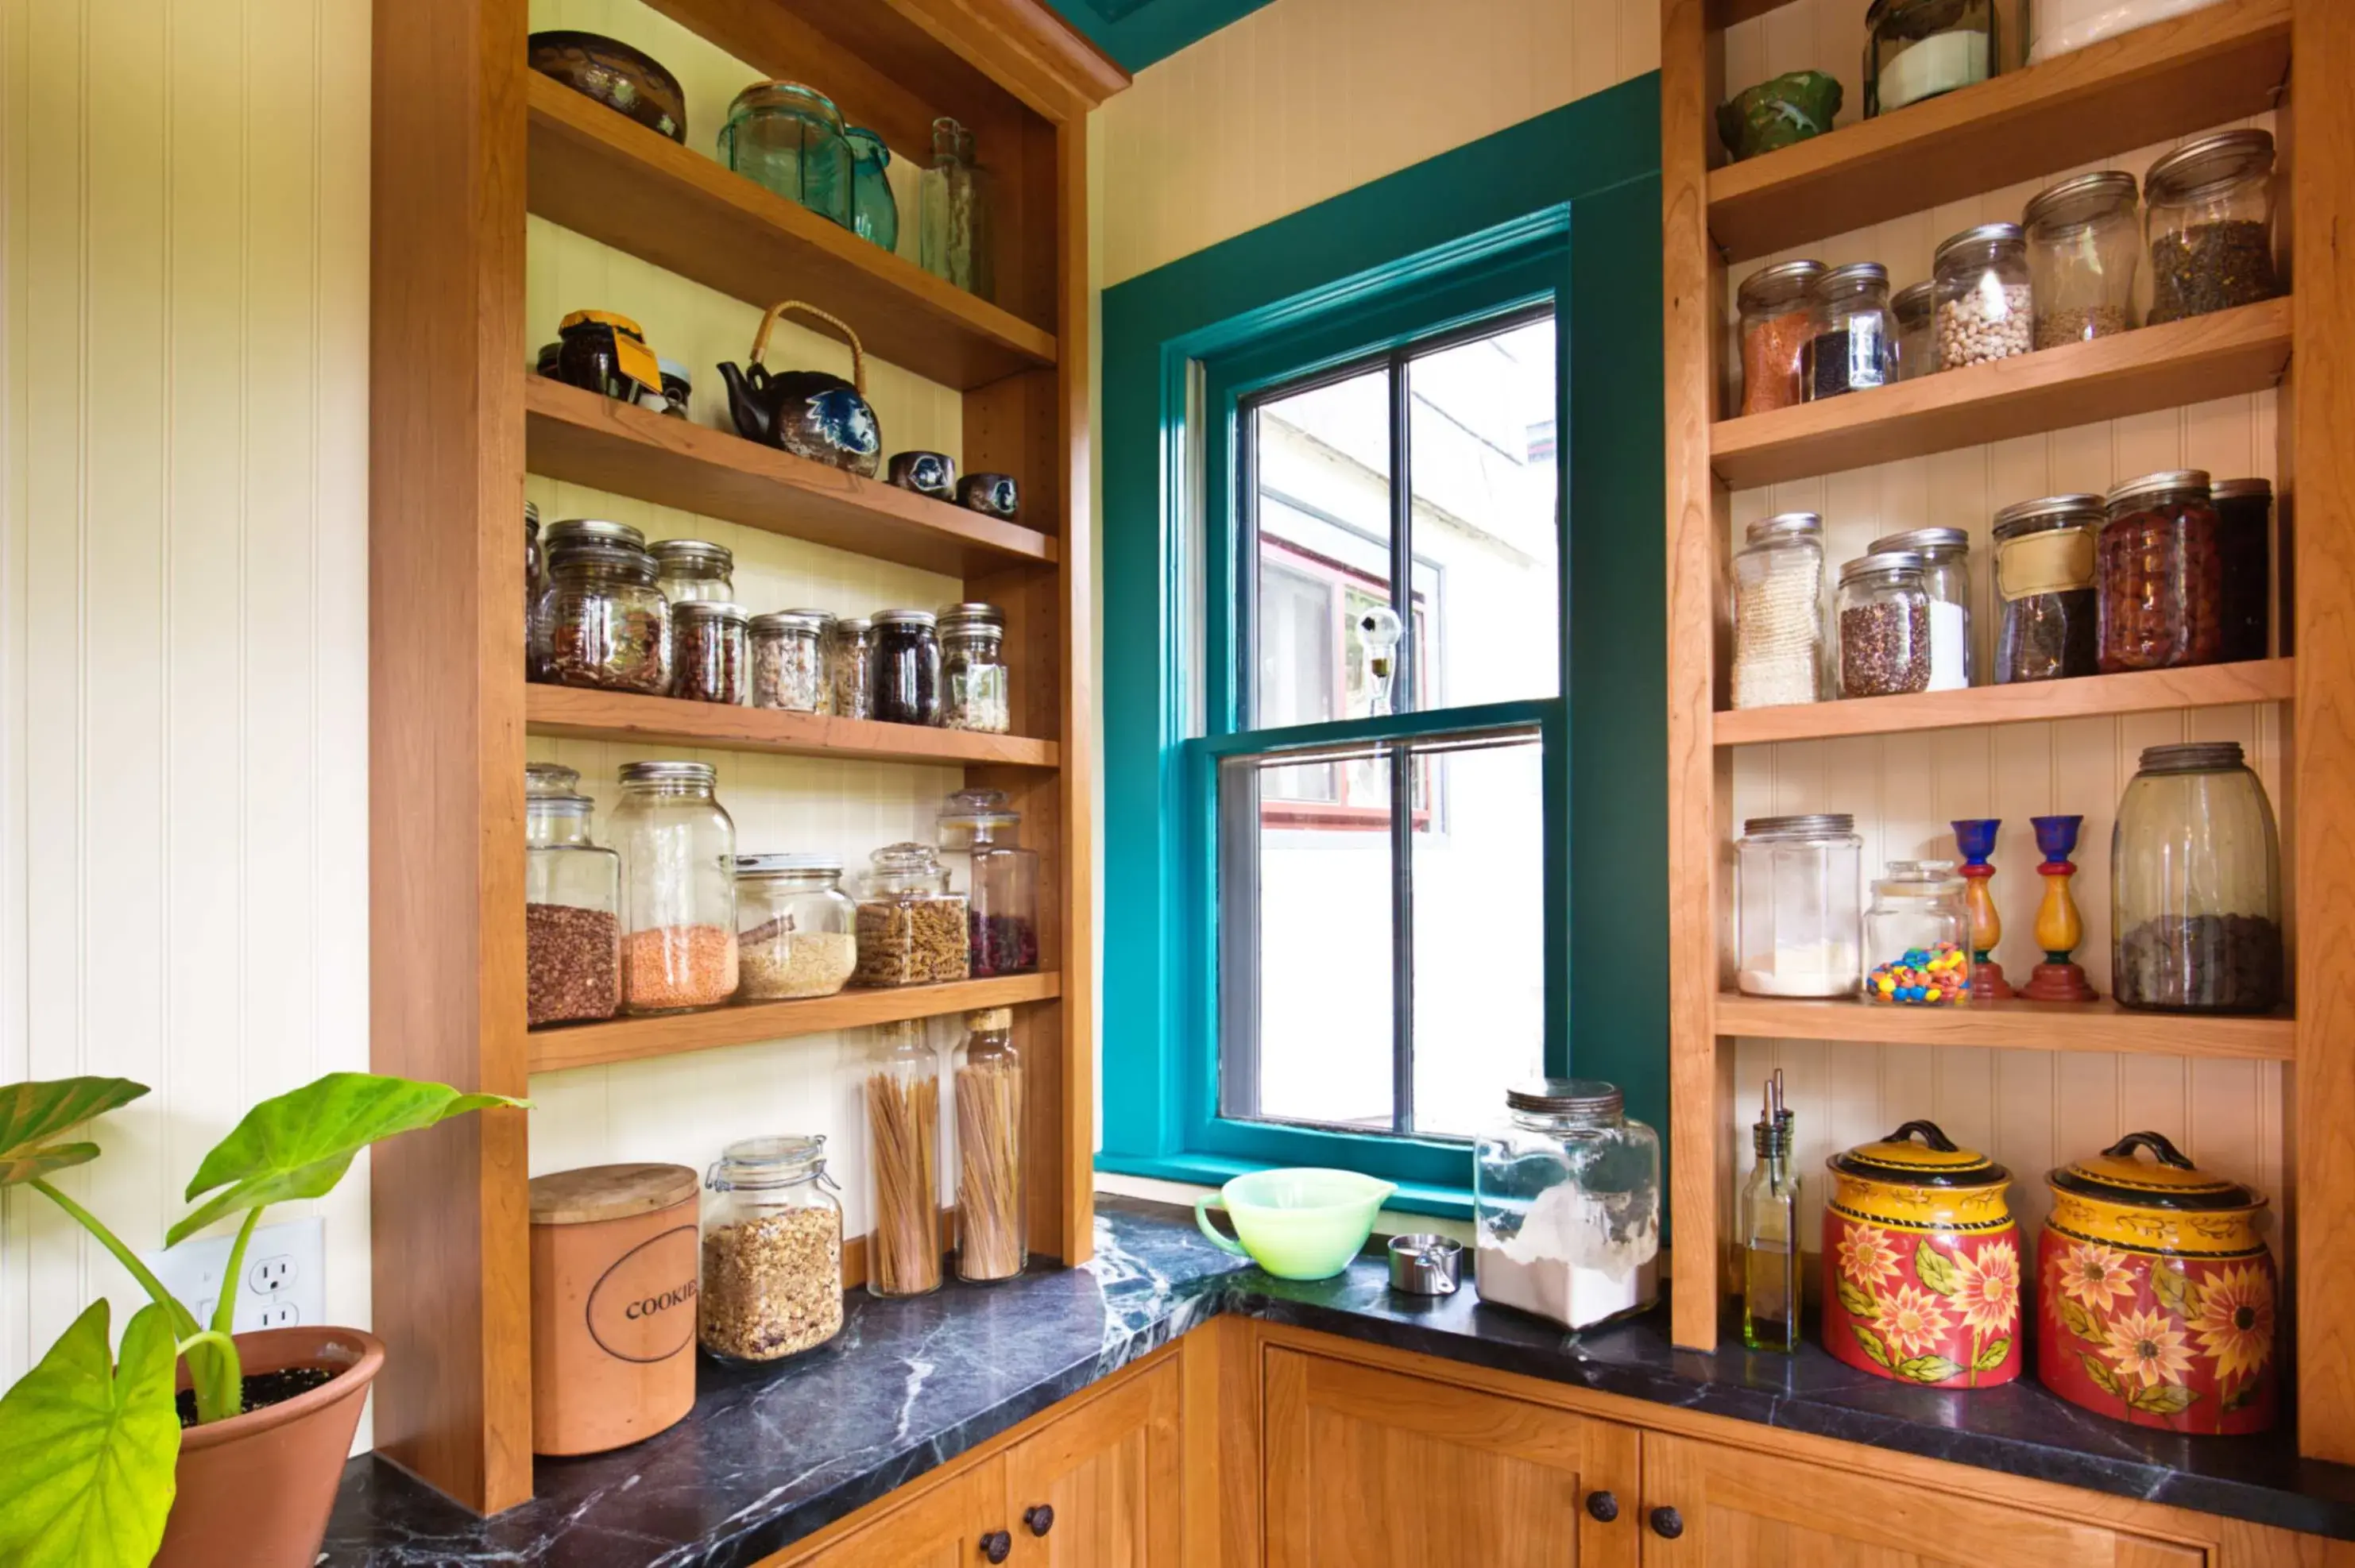
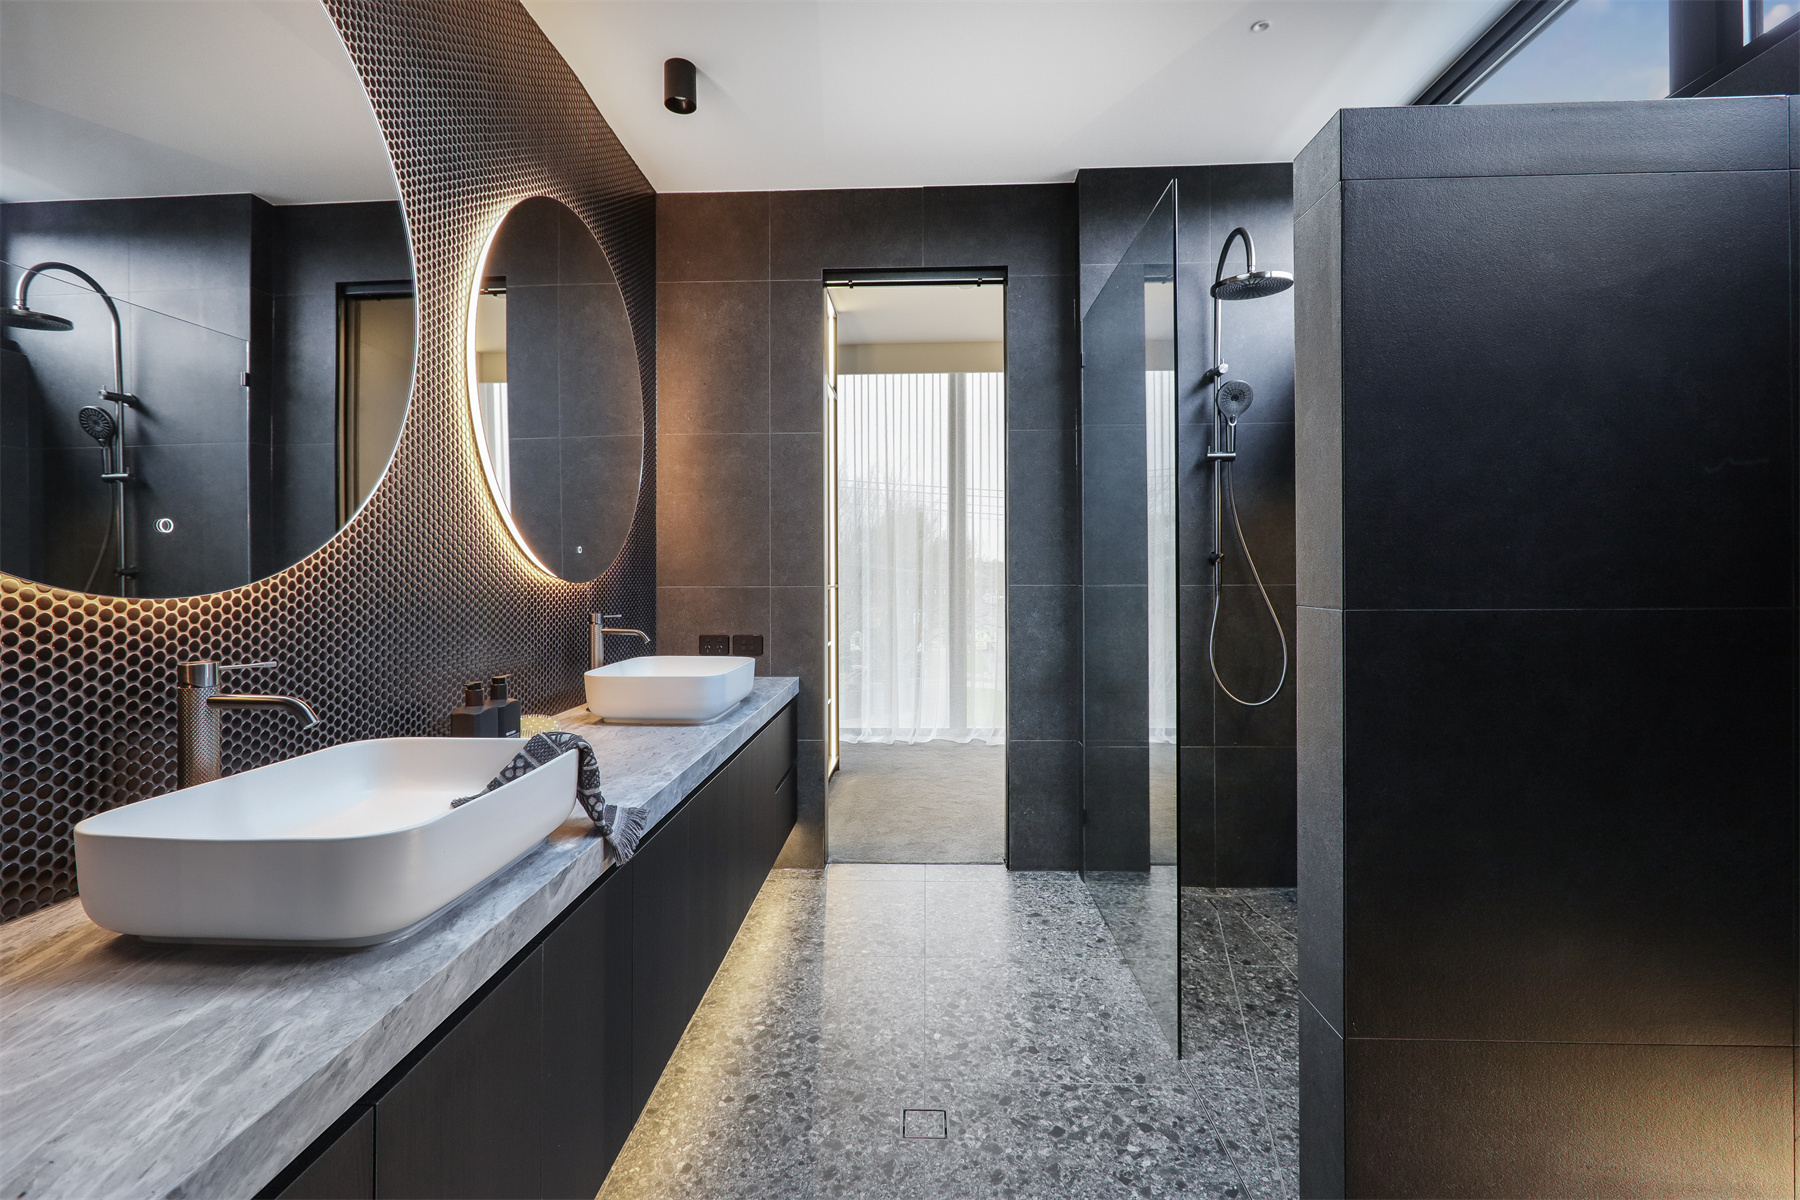
Source: YinYang
Selecting finishes is where you can express personality. Follow these guidelines:
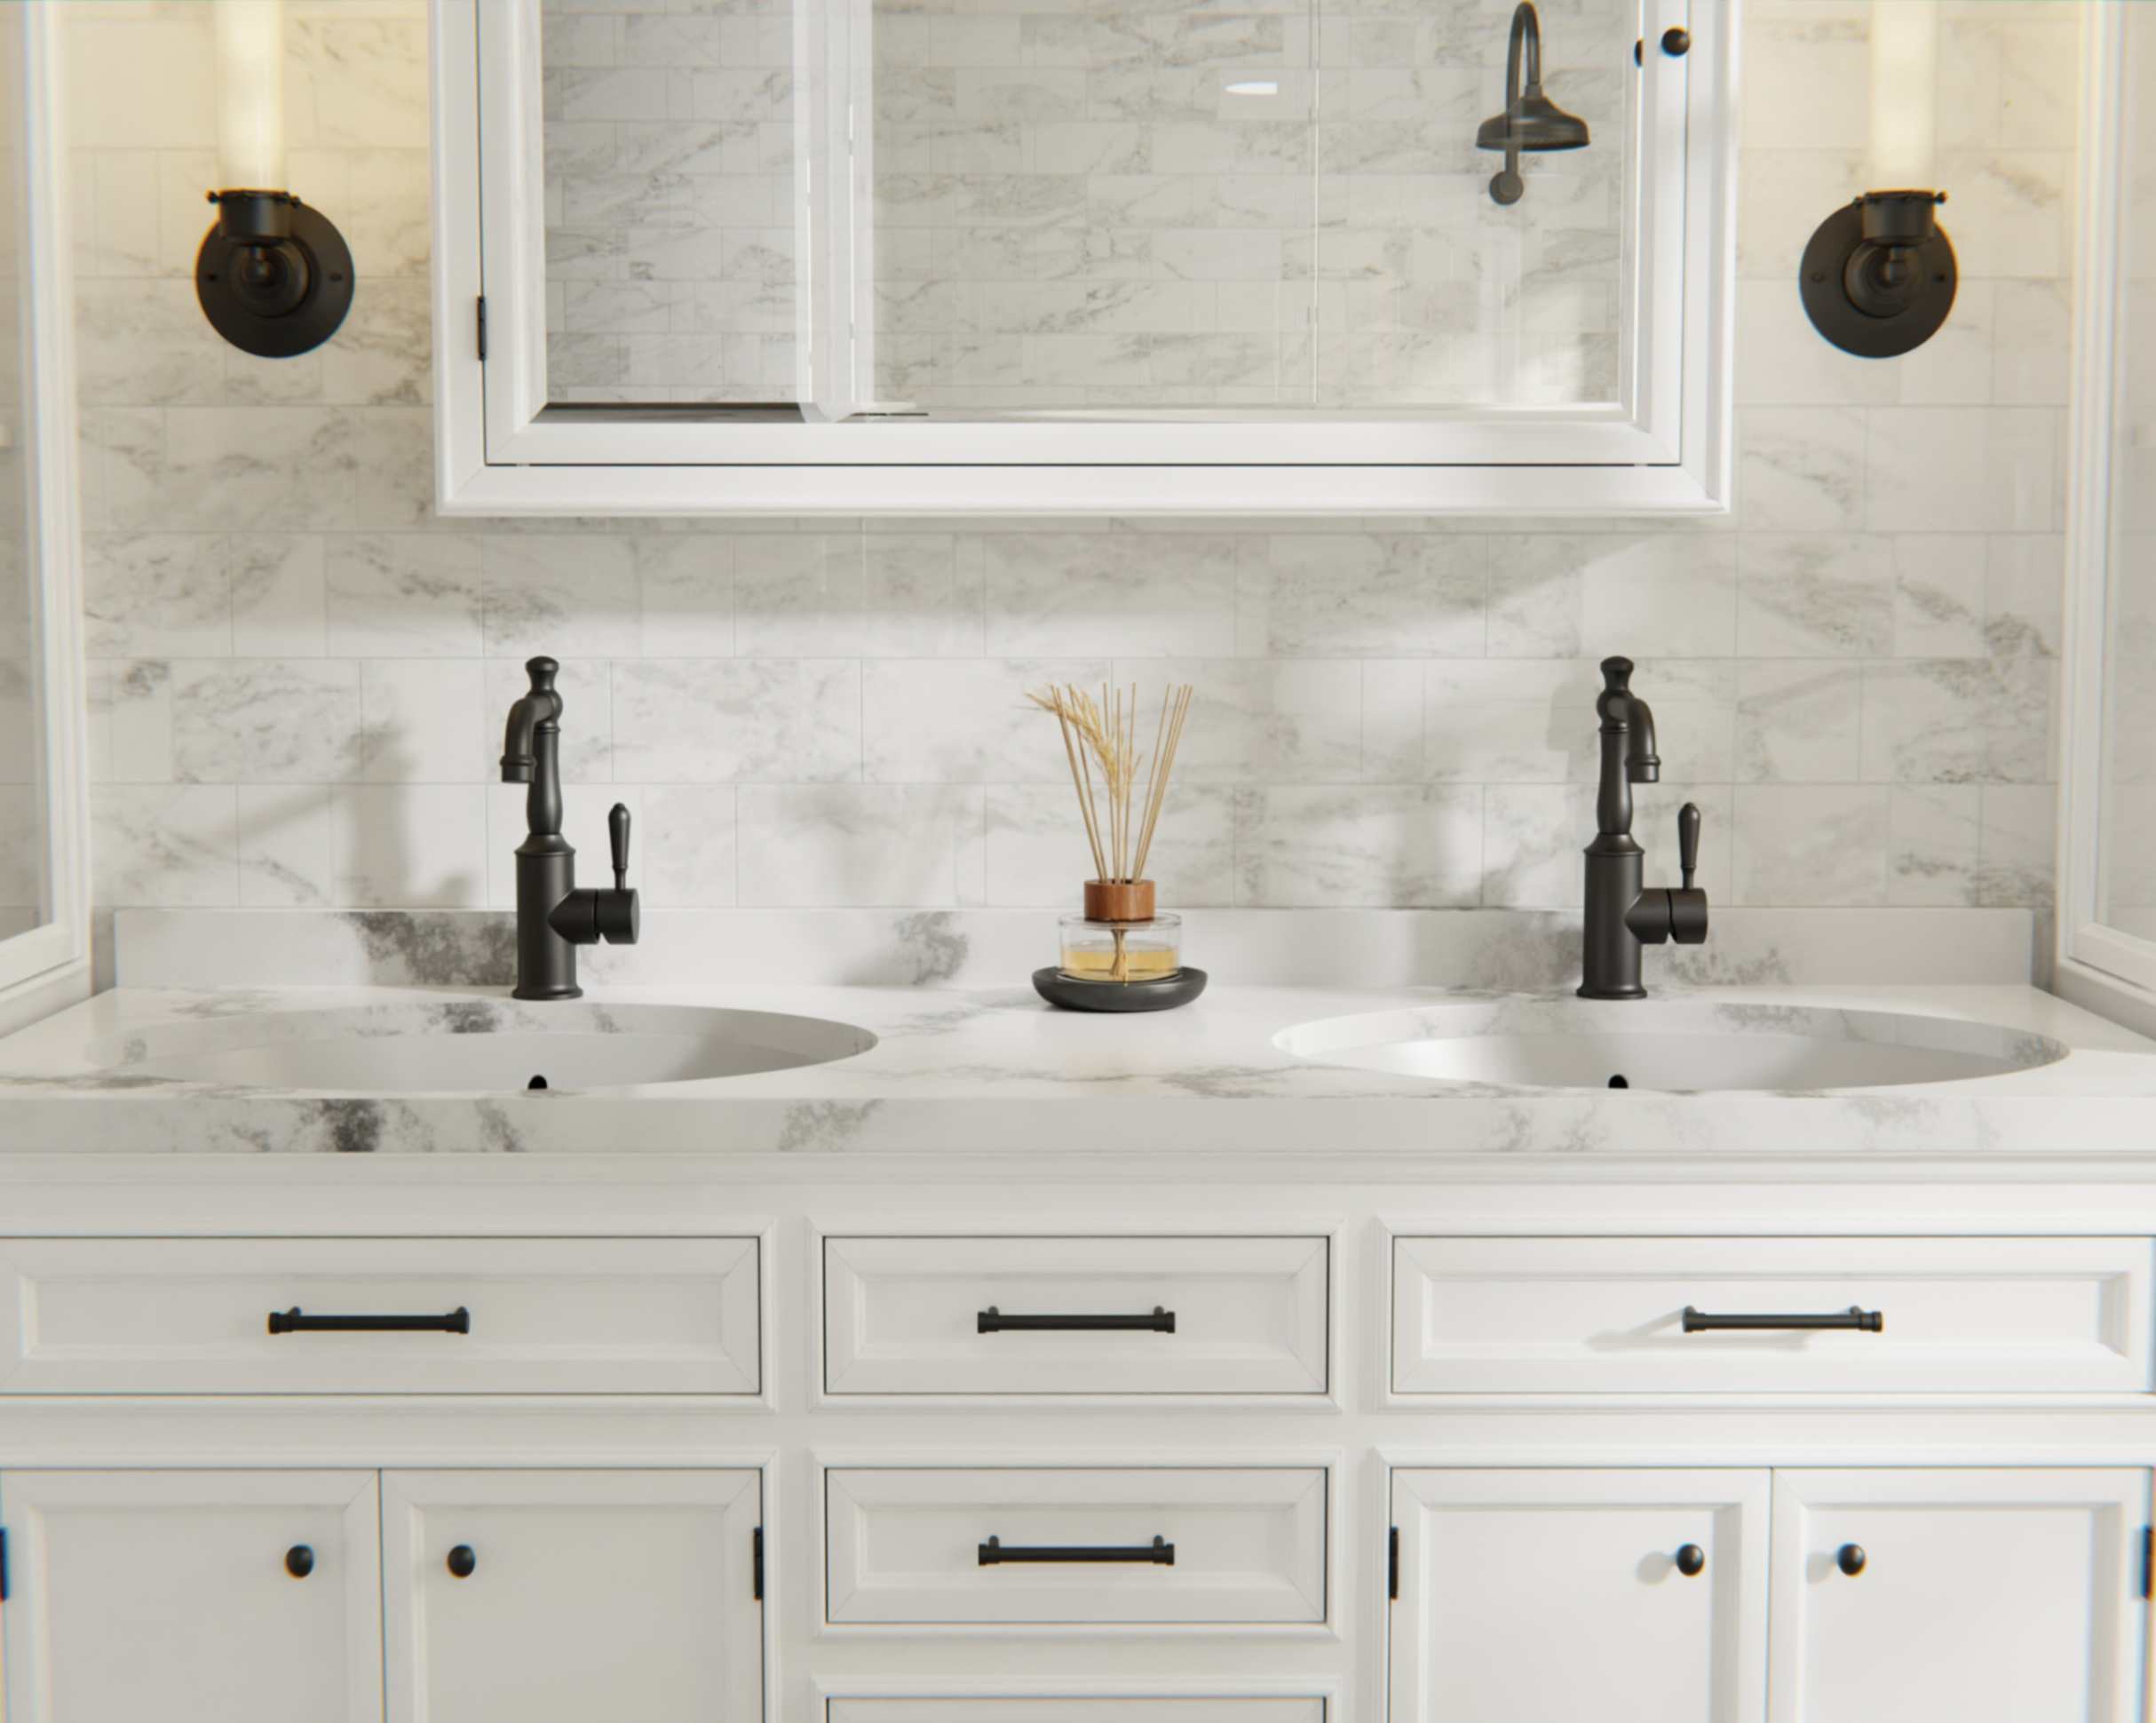
- Complement your kitchen. The butler’s pantry doesn’t need to replicate your kitchen exactly, but it should feel cohesive. Carry through at least one material or colour (e.g. benchtop or hardware). Contrasting cabinetry, such as dark green cupboards with a white kitchen, can create a jewel‑box feel. (Read our blog on choosing a colour palette for your home here.)
- Think about light. Pantries are often windowless, so choose light-reflective surfaces. White or soft grey cabinetry paired with brushed nickel tapware creates a fresh, airy feel, while brushed bronze adds warmth and pairs beautifully with timber.
- Use durable materials. Benchtops should be moisture-resistant and easy to clean. Compact laminate stands up well to water and heat. Cabinet hardware and mixers need good corrosion resistance — especially in pantries that double as a wet zone. Many Nero mixers are made from DZR brass and key collections are available in durable PVD finishes (range dependent), so it’s worth checking the specs for the exact product you’re considering.
- Don’t forget the splashback. A tiled or glass splashback protects walls and adds texture. In small spaces, use a continuous material up the wall to draw the eye upwards.
- Lighting matters. Task lighting is essential if you’ll prep food. Add LED strip lights under cabinets or shelves. Consider a statement wall light or pendant over the sink for a decorative touch. Motion‑activated lights in drawers are great for midnight snack runs.
Lighting: the difference between “nice” and genuinely usable
If your pantry is doing breakfast, lunch and dinner prep, lighting isn’t decoration—it’s function.
- Task lighting: Add LED strip lighting under shelves/overheads so the benchtop isn’t shadowed.
- General lighting: A bright, even ceiling light stops dark corners becoming clutter corners.
- Night-friendly option: A motion sensor or low-level light makes late-night snacks feel effortless (and safer).
Compliance Check: If you’re adding extra lighting, power points or appliances, ask a licensed electrician to confirm load and outlet placement — especially in enclosed pantries where heat can build up. If the pantry includes plumbing, dishwashing or heat-generating appliances, your builder/electrician/plumber can advise an appropriate ventilation approach for your layout.
Also Read: Quartzite countertops: durability, cost, maintenance, & more
Modern vs. classic butler’s pantries
Modern pantries favour clean lines, hidden appliances and integrated storage. Cabinetry is often seamless with push‑to‑open doors and a monochromatic palette. Contrast this with a classic or farmhouse style that features shaker doors, exposed shelving and vintage-inspired fittings. Consider the following when choosing your style:
- Modern: Clean lines, hidden appliances, and a restrained palette. Finishes like matte black or brushed nickel work beautifully with streamlined cabinetry and minimal handles. (You might also be interested in designing an industrial kitchen here.)
- Classic/Farmhouse: Shaker cabinetry, timber benchtops, farmhouse sinks, open shelving, and a more layered feel. Warm metals like brushed gold or bronze pair naturally with handmade tiles, timber shelving, and traditional silhouettes.
- Transitional: The balanced middle ground — streamlined shaker doors with modern hardware and one statement element (like a sculptural gooseneck mixer or a gun metal finish).
Nero Design Tip: Choose one finish family and repeat it across kitchen + pantry tapware and hardware so the entire home reads as one considered design.
How to integrate your butler’s pantry with your kitchen and living area
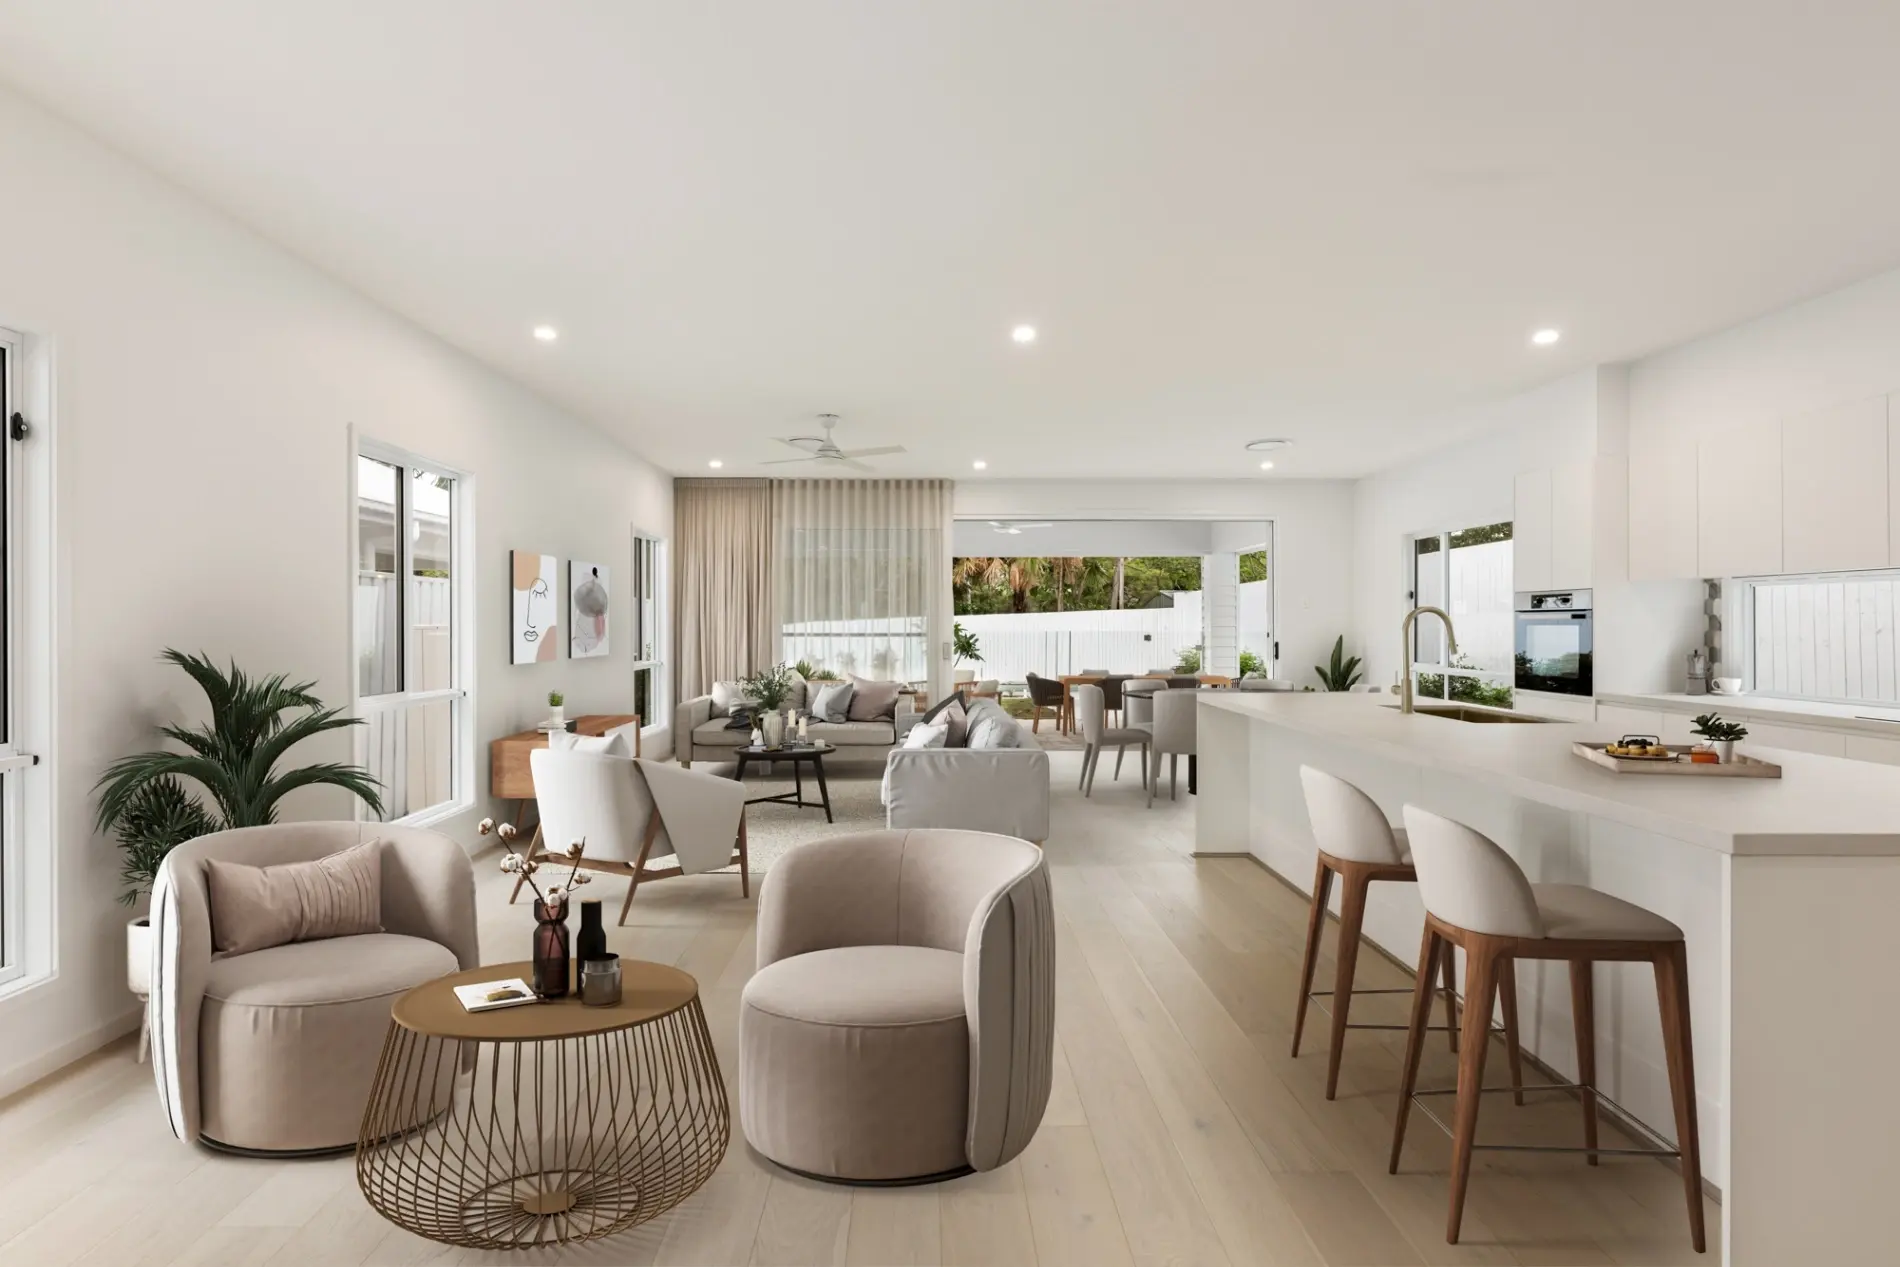
A great pantry feels connected to the heart of your home. Use doorways or open shelves to visually link the spaces, and repeat colours or materials to create flow. If your pantry has a window, align it with your kitchen sight lines.
Consider adding a serving hatch or servery window to make hosting easier. When hosting parties, this pass‑through doubles as a discrete staging area for drinks and desserts.
A quick cohesion checklist (so it feels like one home, not two rooms):
- Repeat one hero material (benchtop, splashback tile, or timber tone).
- Match cabinet profile or hardware shape (it doesn’t need to be identical—just related).
- Keep your tapware finish consistent across kitchen and pantry so the transition feels intentional. (Read our blog on the types of tapware finishes and their pros and cons for this.)
- If the pantry is visible, avoid introducing a third “new” metal finish unless you’re doing it with a clear purpose.
Turning the pantry into a multi‑purpose hub
Many Australian homes use their pantry as a mudroom, laundry or craft space. Built‑in cubbies and hooks can store school bags and coats. A compact front‑loader washer and dryer stack under a bench, while overhead cabinets store detergents. If accessibility matters, incorporate supportive fittings — such as well-placed robe hooks, robe rails, or grab rails — to suit all ages and abilities. (Check out Nero’s Mecca Care line to support all ages and abilities.)
Also Read: The Ultimate Outdoor Kitchen Guide for Australians: DIY Tips, Designs, and Ideas
Common mistakes in designing butler’s pantries and how to avoid them
Even beautifully designed pantries can fail in practice. Watch out for these pitfalls:
- Insufficient ventilation: A closed room with appliances and plumbing needs airflow. Install a ducted exhaust or leave a gap above the door for air circulation.
- Too little power: It’s frustrating to juggle cords. Add more outlets than you think you’ll need, including USB‑A/C ports for charging devices.
- Poor lighting: Dark corners breed clutter. Combine general, task and accent lighting.
- Underestimating storage: Plan for growth. Use pull‑out baskets and vertical dividers for trays and platters.
- Ignoring ergonomics: Place heavy items between knee and shoulder height. Avoid deep corner cupboards that require bending and stretching.
What can go wrong if you cut corners? Cheap fixtures and poor waterproofing can lead to mould and leaks. Non‑compliant wiring may cause shocks or fires. Always hire licensed trades for plumbing and electrical work, and specify high‑quality fittings like Nero’s DZR brass tapware to prevent corrosion.
Also Read: 70 Kitchen Island Bench Ideas for Aussie Homes (With Layout & Storage Tips)
Conclusion and next steps: complete your butler’s pantry with Nero Tapware
A well‑designed butler’s pantry makes daily life simpler and elevates the look and feel of your home. By thinking carefully about size, layout, storage and style, you can create a space that hides clutter, streamlines meal prep and complements your kitchen.
Whether you’re planning a butler’s nook/pantry wall, a compact walk-in, or a scullery-style “second kitchen” pantry, follow the principles outlined here and avoid common mistakes. Remember that a good design starts with your lifestyle and ends with quality fixtures that will last.
Ready to translate these ideas into reality? Explore Nero Tapware’s collections for mixers, pot fillers and accessories in finishes that suit your aesthetic. The Mecca collection’s clean lines work beautifully in modern pantries, while the Serenity range brings a soft, elegant edge to traditional spaces. If you’re planning a pantry–laundry combo, look to the Bianca mixers for effortless functionality. Your home. Your style. Nero is the finishing touch.
Important Disclaimer: This guide provides general design information only. Costs and sizes are indicative and may vary based on your home and location. Always consult a qualified designer or builder for personalised advice and ensure all work complies with local building codes and regulations.