Accessible Bathroom Design Guide: Safe, Stylish & Smart Bathrooms for All Abilities

Creating a home that’s safe, comfortable, and welcoming for everyone starts with thoughtful design—and the bathroom is one of the most important places to get it right. Whether you're planning a renovation or future-proofing your space, an accessible bathroom can make daily life easier for people of all ages and abilities.
In Australia, more homeowners are choosing to upgrade their bathrooms with accessible features that support people with disability, including wheelchair users and others with mobility needs. And it’s not just about mobility—these bathrooms are also stylish, practical, and often increase the value of your home.
In this guide, we’ll walk you through the key features and design tips to create a bathroom that works for everyone—without using complex terms or legal talk. Whether you're caring for a loved one, planning ahead, or simply looking for smart ways to improve your home, these ideas will help you create a space that’s both beautiful and easy to use.
And while step-free showers are often the simplest upgrade (and are a common focus of modern accessible design), many Australian homes still have (and love) a bathtub. If that’s you, it’s worth thinking about bathtub wheelchair accessibility early—because a few smart design choices can make bath time safer, easier, and far more comfortable.
5 Key Features of a Bathroom That’s Accessible for People of All Abilities (Made Simple)

Creating a bathroom that’s easy to use for people with disability and other mobility needs doesn’t mean you need to turn it into a hospital ward. With some thoughtful choices, your accessible bathroom can be practical, safe, and welcoming.
Here are the main features to focus on:
1. Easy Entry and Showers
Step-free entry is a must. This means no raised steps or tricky ledges to trip over. A walk-in shower with a flat floor makes getting in and out much easier, especially for wheelchair users or those who find steps difficult. And if you’re keeping a bath, the same principle applies: planning for bathtub wheelchair accessibility is really about reducing awkward steps, stretches, and balancing acts.
2. Support Bars
Grab rails or support bars provide balance and extra support where it’s needed—near the toilet and in the shower. These don’t have to look clinical; many options blend stylishly with your bathroom’s design.
3. Raised Toilets
A toilet that’s a bit higher than usual helps with sitting down and standing up. It reduces strain and makes using the bathroom more comfortable for people with limited strength or flexibility.
4. Wide Doorways
Doors should be wide enough to comfortably fit a wheelchair or walker. This simple change opens up the space and makes moving around much easier.
5. Non-Slip Flooring
Safety is key. Choose flooring that’s slip-resistant to reduce the chance of falls, especially when wet. Many modern tiles and vinyl options offer good grip without sacrificing style.
Also Read: 40+ Bathroom Lighting Ideas: Expert Guide for Stylish & Functional Bathroom Illumination
Accessibility by Zone: Shower, Toilet, Basin & Bathtub (Made Simple)

When people search for “accessible bathroom design”, they’re usually thinking about one key moment: How will this space feel to use—day in, day out? The easiest way to plan is to break the bathroom into zones and make each one safer, simpler, and more comfortable.
The best accessible bathrooms are simply well-designed bathrooms—comfortable for wheelchair users, older adults, kids, guests, and anyone dealing with injury or fatigue.
Accessible Shower (The Easiest Win)
A step-free shower is often the most straightforward upgrade for accessibility—especially for wheelchair users or anyone who finds stepping over a lip risky.
Key ideas to consider:
- Go step-free: A walk-in shower with a flat entry removes the biggest barrier (literally).
- Add a stable seat: A fold-down seat or shower bench makes bathing less tiring and far safer.
- Keep controls reachable: Place the mixer and handheld shower where they can be used from a seated position—no stretching or twisting.
- Use slip-smart surfaces: Choose textured tiles (or slip-resistant flooring) and keep soap/shampoo within easy reach using a shelf or recessed niche.
Small details that make a big difference:
- A shelf at arm’s reach: Keep shampoo and soap reachable from a seated position.
- A place to hang a towel nearby: It sounds minor, but it reduces risky steps on wet floors.
- A consistent floor finish: Minimises visual “breaks” that can feel like a trip hazard.
Accessible Toilet (Comfort + Confidence)
The toilet zone is all about stability and dignity. A few smart adjustments can make standing, sitting, and transferring far easier.
Key ideas to consider:
- Choose a comfortable height: In Australian accessible specs, the toilet seat height is commonly around 460–480mm—often a more comfortable transfer height for many users.
- Plan for clear space: Make sure there’s room for a wheelchair, walker, or a helper to comfortably move alongside.
- Add support where it feels natural: Grab rails or a fold-up support arm beside the toilet can make a huge difference—especially when they’re positioned to suit the user.
- Keep essentials close: Toilet paper, a shelf, and even a discreet hook should be reachable without leaning.
One important note: towel rails and robe hooks aren’t designed to take body weight—if support is needed, use a properly installed grab rail or support arm.
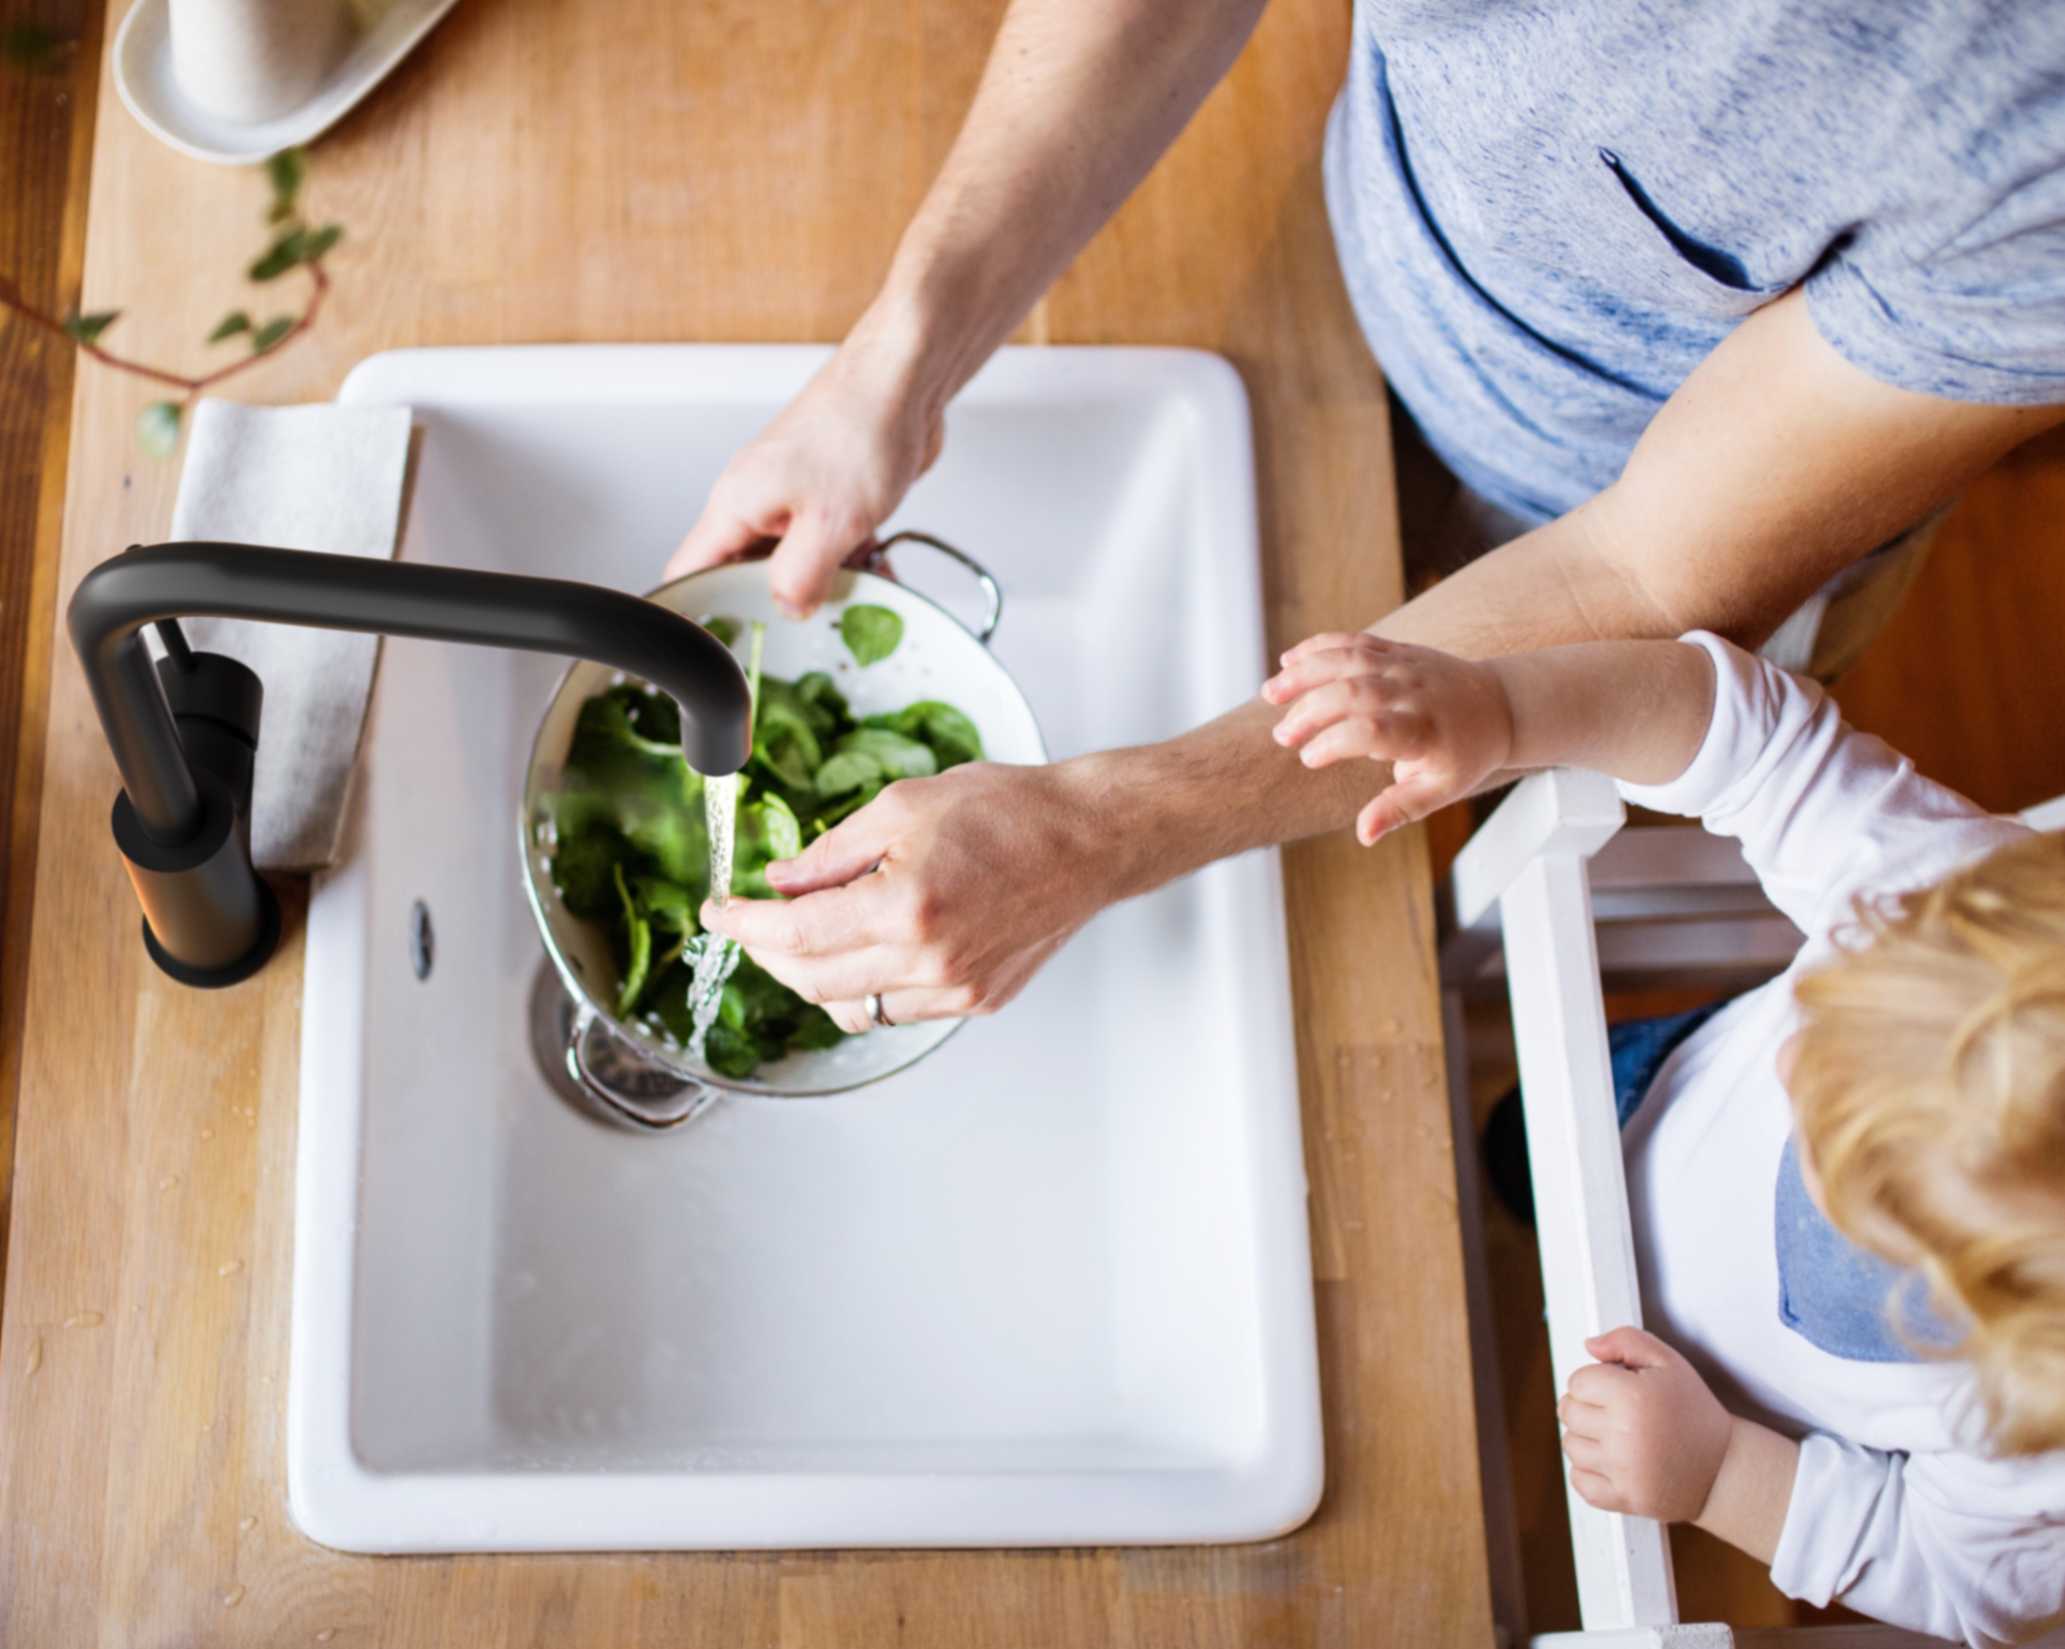
Accessible Washbasin (Seated-Friendly, Everyday Practical)
Your basin gets used constantly—so small tweaks here can feel like a daily upgrade.
Key ideas to consider:
- Allow knee clearance: A wall-hung or open-vanity style can make it easier for wheelchair users to roll in close. As a guide, Australian accessibility references often position basin rims around 800–830mm, with clear space underneath for knee and footplate clearance.
- Pick easy-to-use tapware: Lever handles are typically simpler than twist knobs, especially with limited grip strength.
- Set the mirror up for everyone: A slightly lower mirror (or a tilt mirror) helps seated and standing users equally.
- Choose storage that doesn’t fight you: Drawers and open shelving are often easier than deep cupboards that require bending and rummaging.
If multiple people use the bathroom, this zone is the everyday hero—easy-to-turn tapware, clear bench space, and storage you can access without bending turns morning routines into something smoother (for everyone).
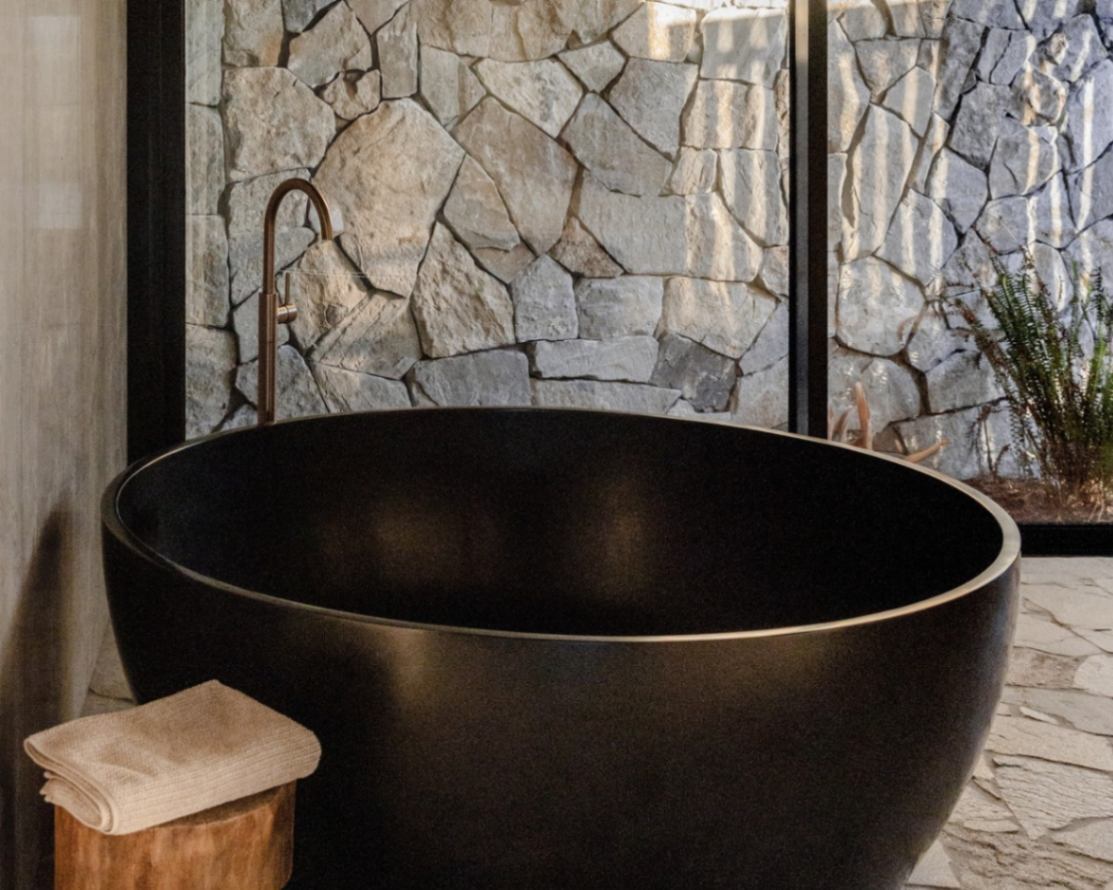
Bathtub Wheelchair Accessibility (If You’re Keeping the Bath)
A bathtub can be soothing, family-friendly, and great for long soaks—but it’s also one of the trickiest zones for safe access. If bathtub wheelchair accessibility is a priority, the goal is to make transfers steadier and reduce the “balancing act”.
Key ideas to consider:
- Make transfers safer: Leave clear space beside the bath so a wheelchair can pull up close. A transfer bench or bath board can help users move across more securely.
- Add stability where it matters: Grab rails placed near the bath entry/exit point give confidence when stepping in, standing up, or transferring.
- Keep water controls within reach: Position taps so they can be used from a seated position, without leaning over the bath.
- Consider assisted bathing options: For some households, a bath lift can be the difference between “too hard” and genuinely usable.
- If replacing the bath: A walk-in bath (with a side door) may suit some users, while others prefer switching to a step-free shower for simpler day-to-day access.
Quick wins for safer bath access:
- Add a purpose-made non-slip bath mat or grip strips designed for wet areas (make sure they’re firmly applied and don’t create trip edges).
- Choose a transfer bench or bath board that can be adjusted and set up securely (an Occupational Therapist can help select and fit the right option).
- Install a handheld shower (so washing can happen from a seated position).
- Keep towels, toiletries, and controls within easy reach—less stretching, fewer slips.
A quick rule of thumb: if you’re designing for long-term ease, a step-free shower is often the cleanest solution—but if you love a bath, planning specifically for bathtub wheelchair accessibility helps keep it safe, comfortable, and realistic to use.
Bath vs Shower: Which Is Better for Accessibility
If accessibility is the priority, a step-free shower is usually the clearest winner—it’s easier to enter, easier to assist in, and simpler to future-proof. But a bathtub can still work in some homes, especially when it’s not the primary daily bathing option.
Choose a step-free shower if:
- The bathroom needs to work for wheelchair access now or in the future.
- The main user wants independent entry/exit with minimal assistance.
- You’re designing for aging in place and want the safest everyday option.
- You want fewer moving parts and an easier space to clean and maintain.
Choose a bathtub (with accessibility upgrades) if:
- The bath is mainly for children, recovery, or occasional use (not daily transfers).
- The main user can transfer safely with supports (or has consistent assistance).
- You have enough space beside the tub for safe transfers and grab rail placement.
- Comfort and soaking is a key need, and you’re prepared to add aids like a bath board, transfer bench, or lift.
Still unsure? As a rule of thumb: if the bath will be used daily by a wheelchair user, a step-free shower is usually the safer, simpler choice. If the bath is occasional, accessibility upgrades can make it far more manageable.
5 Simple Layout Tips for Better Accessibility

When it comes to making your bathroom more accessible, the way you arrange the space can make all the difference. A smart layout creates enough room to move comfortably and safely, whether you use a wheelchair, walker, or just need extra space for balance.
1. Open Floor Space
Clear, open space is essential.Aim for enough room to turn around comfortably—around 1.5 metres, and ideally 2070mm by 1540mm of clear turning spaceif you’re planning for wheelchair access. This helps wheelchair users and makes it safer for anyone using mobility aids.
2. Bath Access: Allow Clear Floor Space Beside the Bath
If a bathtub is part of your layout, plan clear floor space beside it so a wheelchair (or mobility aid) can pull up close. This helps transfers feel calmer and safer—and if you’re designing for livable housing requirements, it also aligns with the broader intent of providing extra bathroom space for usability.
3. Group Fixtures Closely but Accessibly
Keeping the sink, toilet, and shower near each other means less movement between them. But don’t crowd them—make sure there’s plenty of clear access around each fixture.
4. Avoid Clutter and Sharp Corners
Keep the floor clear and avoid anything that might get in the way. Rounded edges on benches or cabinets reduce the risk of bumps and bruises.
5. Consider Door Types
Sliding doors or outward-opening doors save space and are easier to use for people with limited strength or dexterity.
Also Read: Understanding AS1428.1 Compliance for Accessible & Ambulant Bathrooms
Choosing the Right Fixtures & Fittings

Choosing the right bathroom fixtures and fittings can make a big difference in how easy and comfortable your accessible bathroom feels. The goal is to pick items that are simple to use and add to the overall safety and convenience of the space.
1. Shower Chairs and Benches
Adding a sturdy chair or bench in the shower offers a comfortable place to sit while bathing. It’s especially helpful for anyone who finds standing for long periods tiring or difficult.
2. Handheld Showerheads
A handheld showerhead is a flexible option that makes washing easier. It can be adjusted and moved to suit different needs, allowing users to control water flow without stretching or bending.
3. Bath Mixers, Spouts, and Controls
If you’re working around a bathtub, think about where the controls sit. Placing mixers where they’re reachable from a seated position can make a big difference for comfort and safety. Pairing the bath with a handheld showerhead also adds flexibility—especially when you’re designing for bathtub wheelchair accessibility.
4. Lever Handles and Sensor Taps
Faucets with lever handles are easier to turn than traditional knobs, especially for those with limited hand strength. Sensor taps, which turn on with a wave or touch, add convenience and help reduce the spread of germs.
5. Mirror Angles and Lighting
Make sure mirrors are positioned so they can be used by people sitting or standing. Good lighting—both natural and artificial—helps everyone see clearly and move safely.
Also Read: How to Confidently Mix Kitchen Knobs, Pulls & Fixtures for a Custom Look
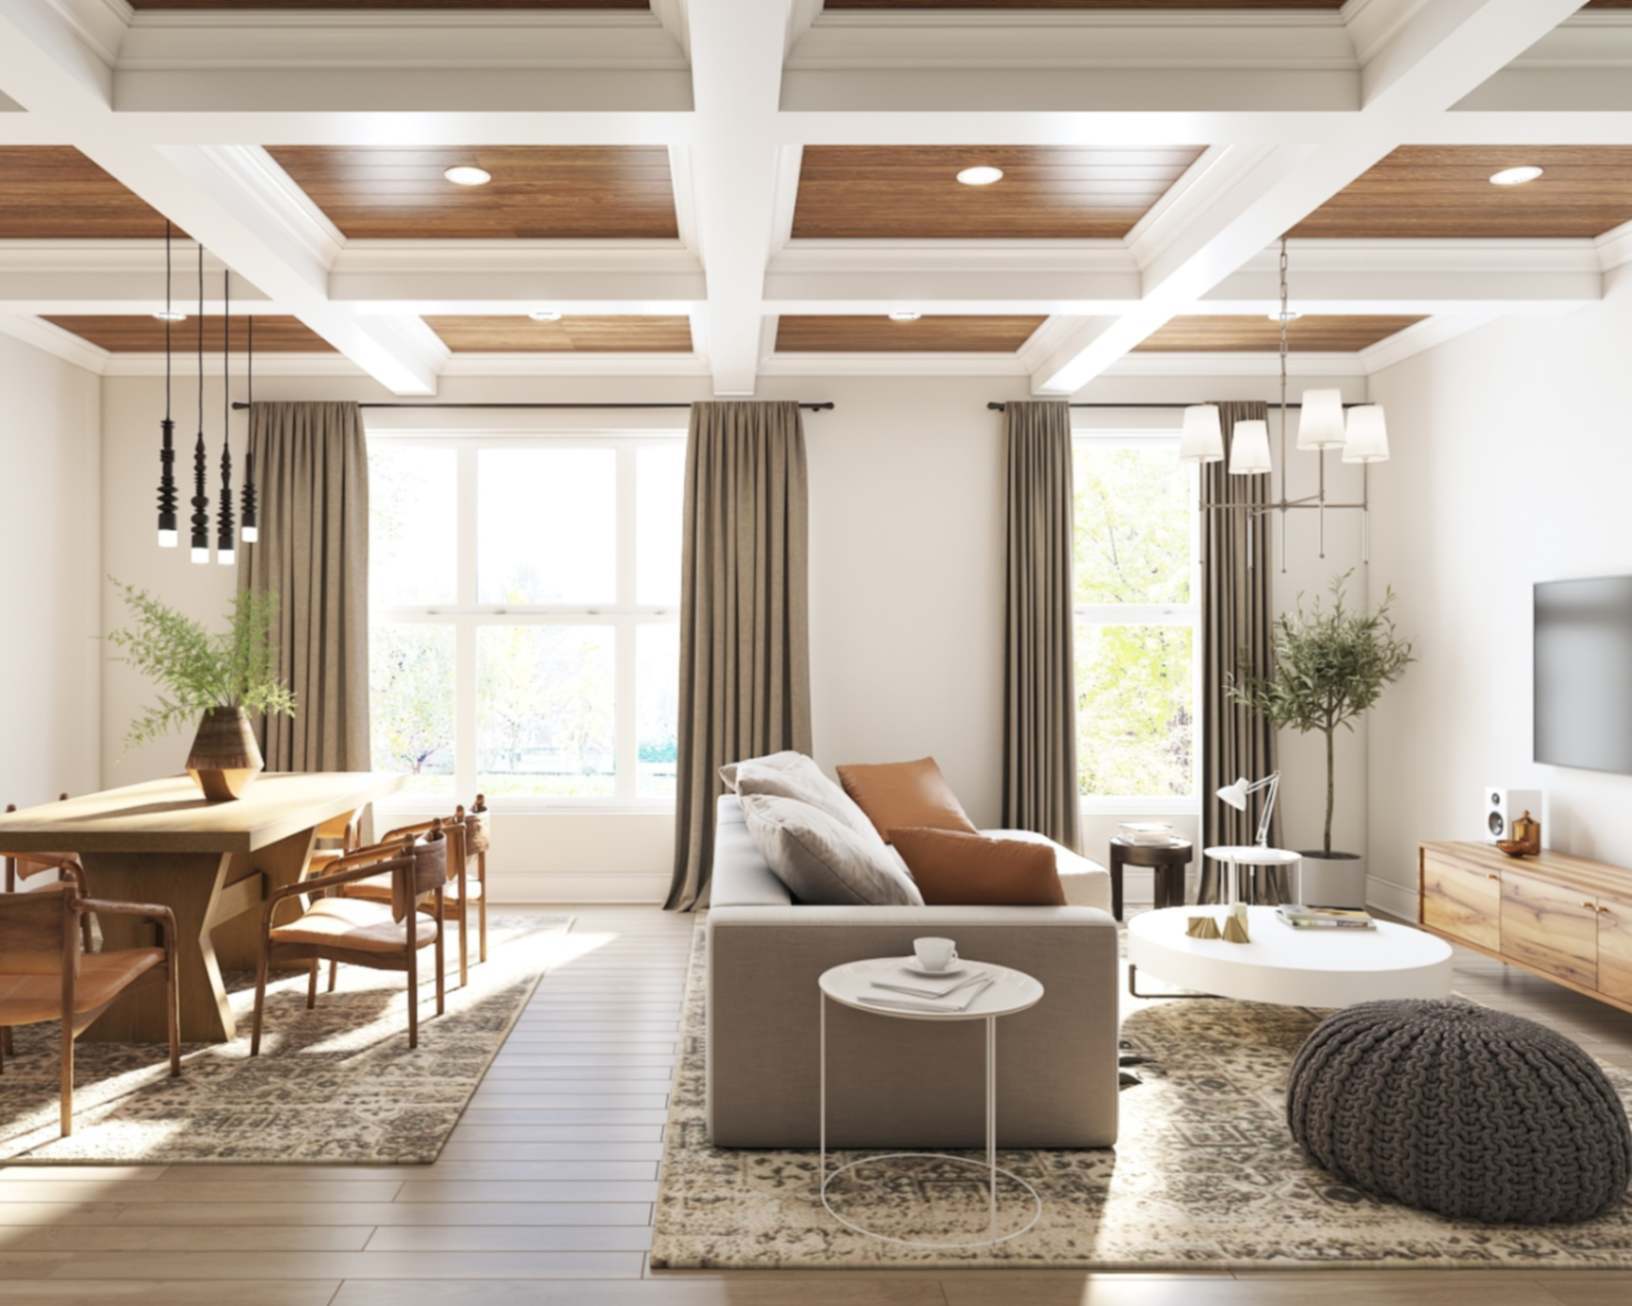
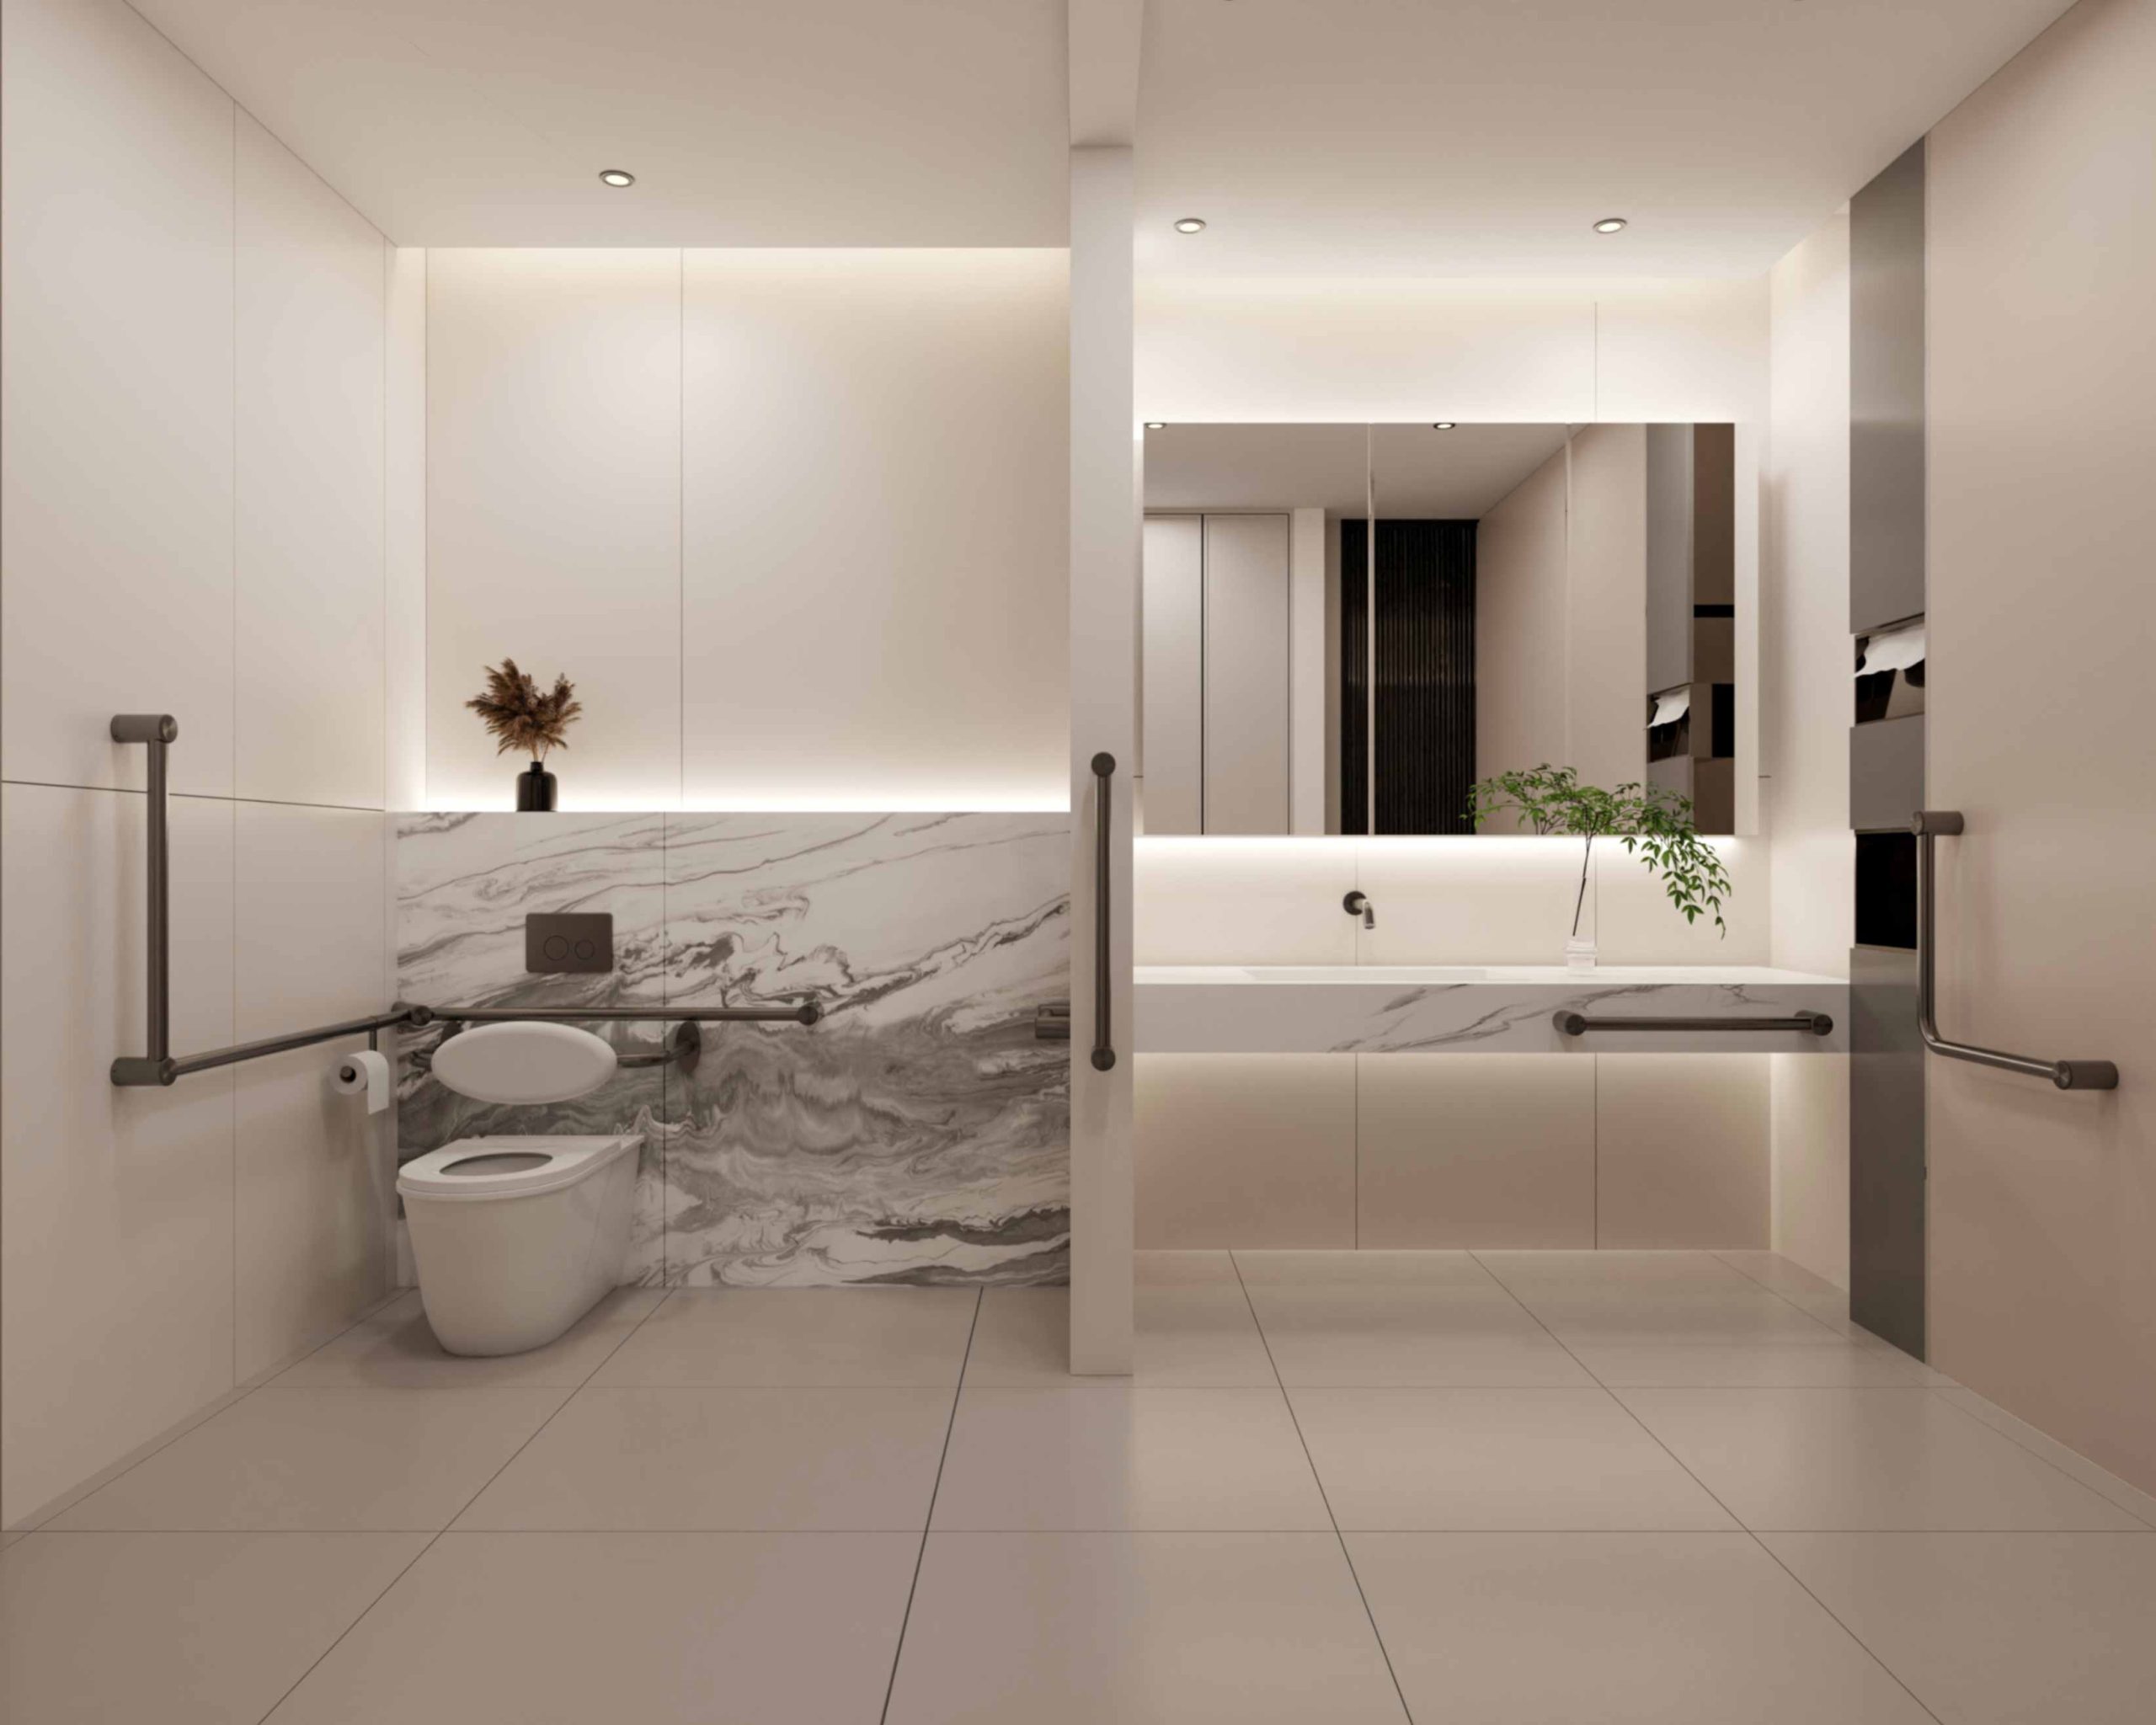
Accessible Bathroom Design That Doesn’t Look Clinical

Many people worry that an accessible bathroom will look cold or like a hospital room—but that’s not the case! Today’s designs blend safety with style, so your bathroom can feel warm, inviting, and modern. Even updates made for bathtub wheelchair accessibility—like grab rails and seating—can look design-forward when finishes and placement feel intentional.
1. Stylish Grab Bars
Grab bars don’t have to be plain metal rails. You can find ones with sleek finishes like matte black, brushed brass, or even wood textures that complement your bathroom decor.
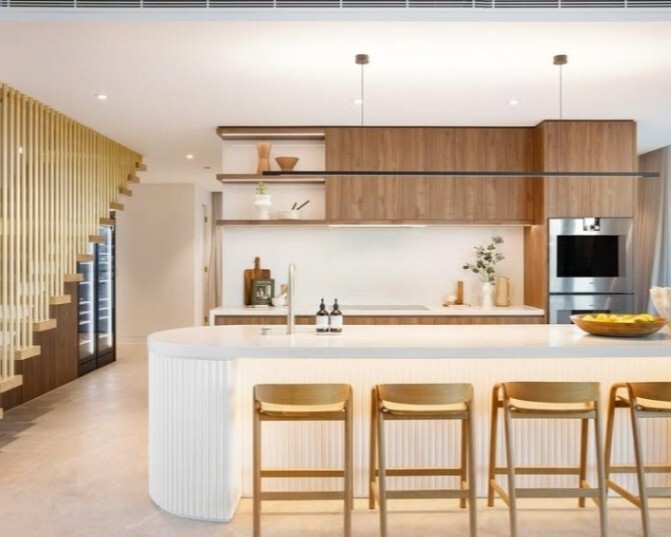
2. Warm and Neutral Colours
Soft, neutral tones create a calm atmosphere that feels welcoming. Think gentle creams, soft greys, or earthy colours that pair well with natural light.
3. Personal Touches
Add plants, artwork, or textured towels to make the space feel like your own. These little details can bring warmth and personality without compromising on function.
4. Natural Light and Ventilation
If possible, use windows or skylights to bring in daylight. Good ventilation keeps the bathroom fresh and comfortable for everyone.
Also Read: Open Shelving vs. Closed Cabinets: Which Is Right for Your Kitchen?
Cost-Friendly Accessible Bathroom Options and Where to Start

Making your bathroom accessible doesn’t mean you have to spend a fortune or remodel everything at once. There are simple, budget-friendly changes that can make a big difference—and you can always add more features over time.
1. Start Small
- Install grab rails near the toilet or in the shower.
- Replace taps with lever handles for easier use.
- Add a shower chair or bench.
- Use non-slip mats or replace slippery flooring with affordable non-slip options.
2. Flooring Choices
If a full floor replacement isn’t on your budget right now, consider non-slip mats that cover the most-used areas. When you’re ready, vinyl or textured tiles are cost-effective and safer options.
3. Grants and Support
In Australia, there are programs that may help with the costs of home modifications—especially if you or a family member receive support through aged care or disability services. It’s worth checking resources like My Aged Care or your state government’s health department for options.
Also Read: 27 Stunning Bathroom Tile Ideas to Transform Your Space in 2025
When to Call a Pro (and What to Ask)
Not every bathroom upgrade requires a specialist, but for bigger projects or when you want to make sure everything is done safely and correctly, calling a professional is a smart move.
When to Consider a Professional
- Installing new plumbing or changing the layout.
- Adding ramps or wider doorways.
- Ensuring flooring and surfaces meet safety needs.
- When you want expert advice on the best accessible design for your space.
What to Look For in a Bathroom Renovator
- Experience with accessible or inclusive bathroom projects.
- Good reviews or recommendations from other Australian homeowners.
- Willingness to explain options clearly without confusing technical talk.
Questions to Ask Before Hiring
- Have you worked on bathrooms designed for people with disability or mobility needs?
- Can you recommend safe, slip-resistant flooring options?
- How will the changes improve comfort and safety for my family?
- What is the estimated timeline and cost for the project?
Also Read: 25+ Ways to Save Water: Practical Tips for Your Kitchen, Bathroom, Laundry Room, and Garden!
Accessible Bathroom Checklist

Here’s a simple checklist every homeowner should keep in mind when planning or updating an accessible bathroom. Use this as a handy guide to make sure your space is safe, comfortable, and easy to use.
Accessible Bathroom Basics:
- Wide doorway — at least 820mm clear opening width to allow easy wheelchair or walker access. Some accessible design standards use 850mm clear openings as a benchmark in certain settings, so it’s worth discussing your needs with your renovator or OT.
- Non-slip floor — choose flooring that reduces slips, especially when wet.
- Grab rails — near the toilet and in the shower for support (choose stylish options that match your decor).
- Easy-to-reach shower controls — positioned so they can be used without stretching or bending.
- Shower seat or bench — provides a safe place to sit while bathing.
- Lever-style taps or sensor taps — easier to turn on/off than traditional knobs.
- Step-free shower entry — no raised ledges to trip over.
- Good lighting and ventilation — bright enough to see clearly and fresh air to prevent dampness.
- Enough open space — room to move safely with mobility aids or to assist a loved one.
- Mirror placement — visible for both seated and standing users.
Feel free to print or save this checklist and share it with your family or contractor. It’s a great way to keep everyone on the same page!
Vanessa Low on Accessible Bathrooms: Confidence, Independence, and Feeling at Home
Accessible design isn’t just a checklist—it’s something you live with. That’s why Nero Mecca Care’s brand ambassador Vanessa Low brings world-class perspective to what accessible design looks like when you actually live with it.
Vanessa is a German-born Australian Paralympic long jump athlete who has represented Germany and Australia across four Paralympic Games. She’s a three-time Paralympic gold medallist in the long jump and a record-breaking competitor whose career is celebrated for resilience, focus, and sheer determination.
Just as importantly, Vanessa is a passionate advocate for inclusive design that protects dignity.
As she puts it:
“I didn't want to walk into the room and be reminded every day that I have a disability.”
— Vanessa Low, Paralympic Medalist
For Vanessa, the goal is a bathroom that supports independence while still feeling warm, modern, and genuinely beautiful.
Watch Vanessa’s interview video below:
Enhance Your Accessible Bathroom with Mecca Care by Nero Tapware
Ready to take your accessible bathroom to the next level? Discover the Mecca Care range by Nero Tapware—a collection created for comfort, safety, and style, and co-designed with Avail Designs.
Avail Designs is an Australian accessibility-focused brand known for creating supportive bathroom essentials—like grab rails, shower seats, and toilet supports—that are designed to feel integrated (not clinical).
Many Avail Designs support products are developed through consultation with occupational therapists and end users—so the final result feels considered, comfortable, and truly usable. Their approach centres on subtle support, everyday independence, and the kind of thoughtful details that help a bathroom feel like home.
Also Read: Nero Tapware’s Mecca Care Line: Australia’s AS1428.1 Compliant Tapware for Accessible Bathrooms
Why choose Mecca Care?
- ✅ Thoughtfully designed for people with disability and others with mobility needs—ideal for aging in place or creating inclusive spaces.
- ✅ Sleek, modern finishes like matte black and chrome that blend effortlessly with contemporary Australian bathrooms.
- ✅ Trusted Australian brand known for combining function with standout style.
Top Mecca Care Products to Consider:
- Mecca Care Grab Rails: Supportive and non-intrusive, these rails offer stability without the clinical look. Available in multiple lengths and finishes to suit any design.
- Mecca Care Shower Seat: A foldable, wall-mounted seat that offers comfort, support, and space efficiency—perfect for walk-in showers.
- Mecca Care Basin Mixer with Extended Lever Handle: Ideal for users with limited grip or dexterity, this mixer is easy to operate and elegantly designed.
Whether you're upgrading your own home or supporting a loved one, Mecca Care makes it easier to create a bathroom that's safe, stylish, and built to last.
If you’d like to see Mecca Care finishes in person (and get a feel for details like rail grip, seat comfort, and lever ease), you can find a showroom or retailer near you here:
Explore the full range at nerotapware.com.au or contact us so we can help you design an accessible bathroom that feels considered, cohesive, and easy to use.